
Technical Level : Basic
Summary
For many users, using ISO media will be the preferred method since you will have a backup copy for reinstall purposes if needed. Also for persons with limited bandwidth, this will be an excellent way avoid the need to download the update more than once if you have multiple computers. So lets take a look at upgrading to Windows 11 or Windows 10.
Details
See instructions: How to download official Windows 11 or Windows 10 ISO files
Overview of what is discussed in this article:
Free Upgrade Offer Requirements - you might still get Windows 10 for free if you are running Windows 8 or earlier, see: https://www.groovypost.com/howto/download-windows-10-free/
Notes: What you should do and know before starting
Backup your computer
What you can do before attempting the upgrade
What are the official upgrade paths?
Migration: earlier releases of Windows
Choose between 32 & 64 Bit
Prepare the ISO File
Troubleshoot product key
Starting setup
Free Upgrade Offer Requirements
Windows 11 or Windows 10 is a free upgrade from supported earlier versions such as Windows 7 or Windows 8. Windows 11 in particular is a free upgrade for compatible computers running Windows 10. Users will need to ensure their devices are compatible before attempting the upgrade. Microsoft has provided a free tool you can use to check to see if your system is eligible:
How to Check if your Computer or Device is Windows 11 Compatible
Please keep in mind, that some older generations of computers might not have the supported security hardware, sufficient memory, storage or processor requirements to run Windows 11. In which case, it is recommended you continue running Windows 10 or earlier. Users should also contact their OEM or check their website to find out about support.
Some systems might still be eligible to run Windows 11, but are not fully supported. I encourage users consider backing up their system first and also try dual booting Windows 11 to see how it performs before replacing their existing working version of Windows thats currently installed.
How to Prepare Your Computer to Install the Windows 11
How to Install Windows with Other Versions of Windows
Notes: What you should do and know before starting:
Gather all important application discs and hardware driver discs you might need to be reinstalled.
Check the manufacturer and software developers website for updates available and to find out about the status of compatibility with Windows 11 or Windows 10. It is possible that software, compatible with Windows 7 or 8/8.1 might work with Windows 11 or Windows 10 since they share the same driver model.
If you are using software such as iTunes or Adobe programs, remember to deauthorize and deactivate them before running setup.
Will upgrading from Windows 10 or later preserve my personal files, applications and settings?
Yes, upgrading from Windows 10 or a later version will preserve your personal files (documents, music, pictures, videos, downloads, favorites, contacts etc, applications (ie. Microsoft Office, Adobe applications etc), games and settings (ie. passwords, custom dictionary, application settings).
Will my existing programs, hardware and drivers work on Windows 11?
Most applications and hardware drivers designed for Windows 10 or later should work with Windows 11. Of course, with significant changes expected in Windows 11, it is best you contact the software developer and hardware vendor to find out about support for Windows 11. Windows 11 setup will keep, upgrade, replace and might require that you install new drivers through Windows Update or from the manufacturers website.
Backup your computer:
When making significant changes to your computer such as updating the operating system, you should always backup. See links to resources about backing up by clicking the link for the respective version of Windows you are running:
Windows XP,
Windows Vista,
Windows 7,
Windows 8/8.1
How to: Create a system image in Windows 10
Also review:
How to manually backup and restore your files
Once you have installed these important updates and followed the prerequisite instructions, you should be ready to receive your free update to Windows 11.
What you can do before attempting the upgrade?
You can do some pre-requisite tasks to ensure a smooth migration to Windows 11 or Windows 10. If you are using a name brand computer such as a Dell or HP, go to the manufacturers website for the model computer you are using and download the latest available drivers for that computer. Store them on a disc or USB thumb drive. Important drivers you should try to obtain include Chipset, Network and Video Drivers. Its possible that they might have only have Windows 10 drivers, those will work with Windows 11, some Windows 7 drivers might also work.
If you are finding it difficult to carry out some of the steps described below, please review detailed instructions how to perform them:
The above article references Windows 10, but some steps remain applicable for Windows 11.
If you encounter an error regarding enough space to complete the upgrade, review instructions:
How to Use the Windows 10 Settings App to Free Up Disk Space
Disable (preferrably uninstall) your Antivirus utility before attempting the upgrade.
Make sure your machine name is simple no periods or hyphens or dashes.
Restart your computer a few times then try again.
Disable General USB Devices (example - Smart Card Reader).
If you are using a SCSI hard disk, make sure you have drivers available for your storage device on a thumdrive and it is connected. During Windows 11 setup, click the Custom Advanced Option and use the Load Driver command to load the appropriate driver for the SCSI drive. If this does not work and setup still fails, consider switching to a IDE based hard disk.
Perform a clean boot, restart then try again.
If you are upgrading using the .ISO file, disconnect from the Internet during setup, if you are connected by LAN (Ethernet) or Wi-Fi, disable both then attempt setup again.
If you are updating through Windows Update, when the download reaches 100% disconnect from the Internet LAN (Ethernet) or Wi-Fi then proceed with the installation.
If that does not work, try using the .ISO file to upgrade if possible.
If you are connected to a domain, switch to a local account.
If you have any external devices attached to the machine, disconnect them (example, gaming controllers, USB keys, external hard disk, printers, non-essential devices).
Run the System File Checker utility.
SFC/Scannow checks your Windows installation for errors and corrects them. This will help with ensuring that a smooth upgrade occurs.
Click Start
Type: CMD, from the results, right click CMD Click ‘Run as Administrator’
(Windows 8/8.1 users - press Windows key + X > click Command Prompt (Admin)
At the Command Prompt, type: sfc/scannow
This will check for any integrity violations
Restart your system
Learn more:
How to: 10 things to do if Windows Setup fails.
Instructions reference Windows 10, but should also be applicable to Windows 11.
Users running earlier versions of Windows will need to perform a clean or custom install.
Learn more: How to: Do a custom installation of Windows
Also keep in mind, the Rollback function in Windows 11 or Windows 10 does not support custom installs, so if you decide you want to go back to Windows 7 or earlier, you will have reinstall using original reinstall media. So try creating a backup of your installation if this matters to you.
32 or 64 bit
Windows 11 is only available as a 64 bit version. Users needing a 32 bit version should continue using Windows 10.
My recommendations depend on what you have installed. If you currently have 32 bit Windows installed, use 32 bit Windows 10. If you have 64 bit Windows, use 64 bit Windows 10. This is to ensure a smooth migration, especially where driver compatibility is concerned. Another factor is RAM. If you have max 3 GBs of RAM, then 32 bit should be sufficient for your needs. If you happen to have 4 to 8 GBs or more RAM, then 64 bit would be suitable.
Windows 11 or Windows 10 64 bit comes in handy when you need to address at least 4 GBs or more of RAM. Windows 32 bit can utilize up to 3.2 GBs of RAM. Because the memory address space is much larger for 64 bit Windows, that means, you need twice as much memory than 32 bit Windows to accomplish some of the same task, but you are able to do so much more, you can have more applications open, do things like run an Antivirus scan in the background without it affecting your system performance. Windows 64 bit is more secure too, malicious code cannot easily infiltrate it, drivers are more reliable since they must be signed before they can work with 64 bit Windows.
As for compatibility, you will need 64 bit device drivers for any hardware devices you might have. Also, there is no 16 bit subsystem in Windows 64 bit, which means, your applications must be 32 bit only, not 16 bit installer or uninstallers.
Learn more: How to: Switch from 32 bit versions of Windows to Windows 64 bit
Prepare Windows 11 or Windows 10 ISO file
After you have downloaded the Windows 11 or Windows 10 ISO, you need prepare it. Windows 11 ISO is larger than previous releases, so, you can only make a bootable copy on a dual layer DVD or USB thumb drive thats 8 GBs or larger. See steps:
How to Prepare Bootable Install Media for Windows - DVD, USB or SD Card
Troubleshoot Product key
I downloaded the .ISO file but Windows 11 or Windows 10 setup is prompting me for a product key or indicates the product key does not work with this edition.
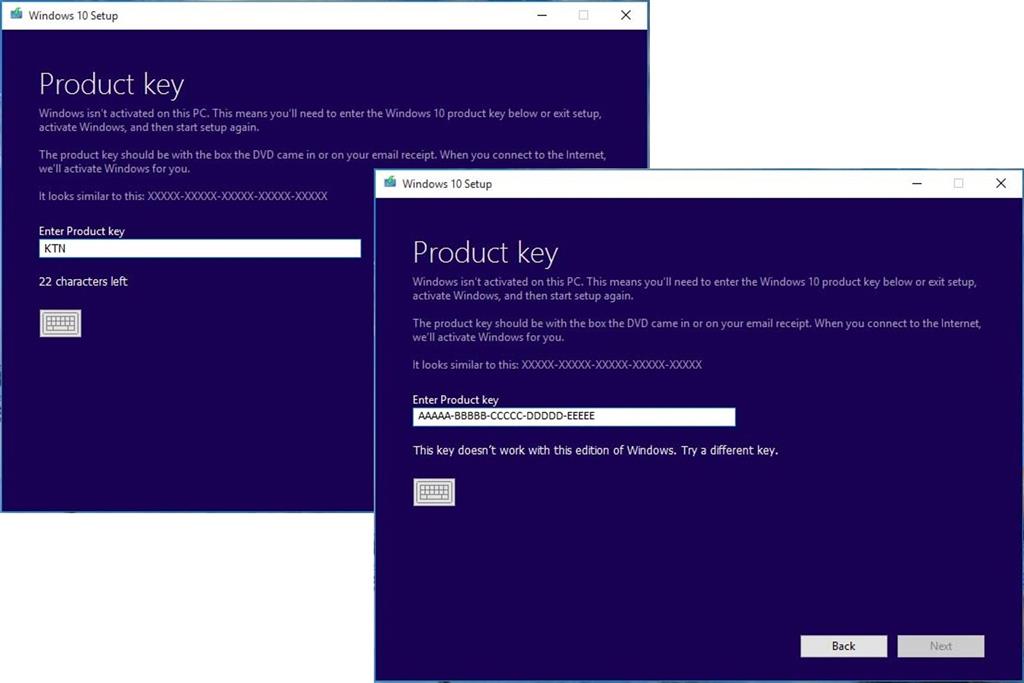
Please note: The copy of Windows 11 or Windows 10 you download must correspond with the edition of Windows you are upgrading from:
Windows 10 Home or Home Single Language must use a Windows 11 Home ISO
Windows 10 Pro must use a Windows 11 Pro ISO
The same applies to other specific editions such as Pro for Workstations or Business.
Your currently installed copy of Windows must be activated. If it is not, you will be prompted to enter a product key.
Windows 10
Windows 7 Starter, Home Basic, Home Premium, Windows 8.0 Core, Windows 8.1 Core must use a Windows 10 Home ISO
Windows 7 Professional, Windows 7 Ultimate, Windows 8.0 Pro, Windows 8.1 Pro must use a Windows 10 Pro ISO
Your currently installed copy of Windows must be activated. If it is not, you will be prompted to enter a product key.
Windows 11 Starting Setup
For the purposes of this article, I will be upgrading to Windows 11 Pro from a Windows 10 Pro installation.
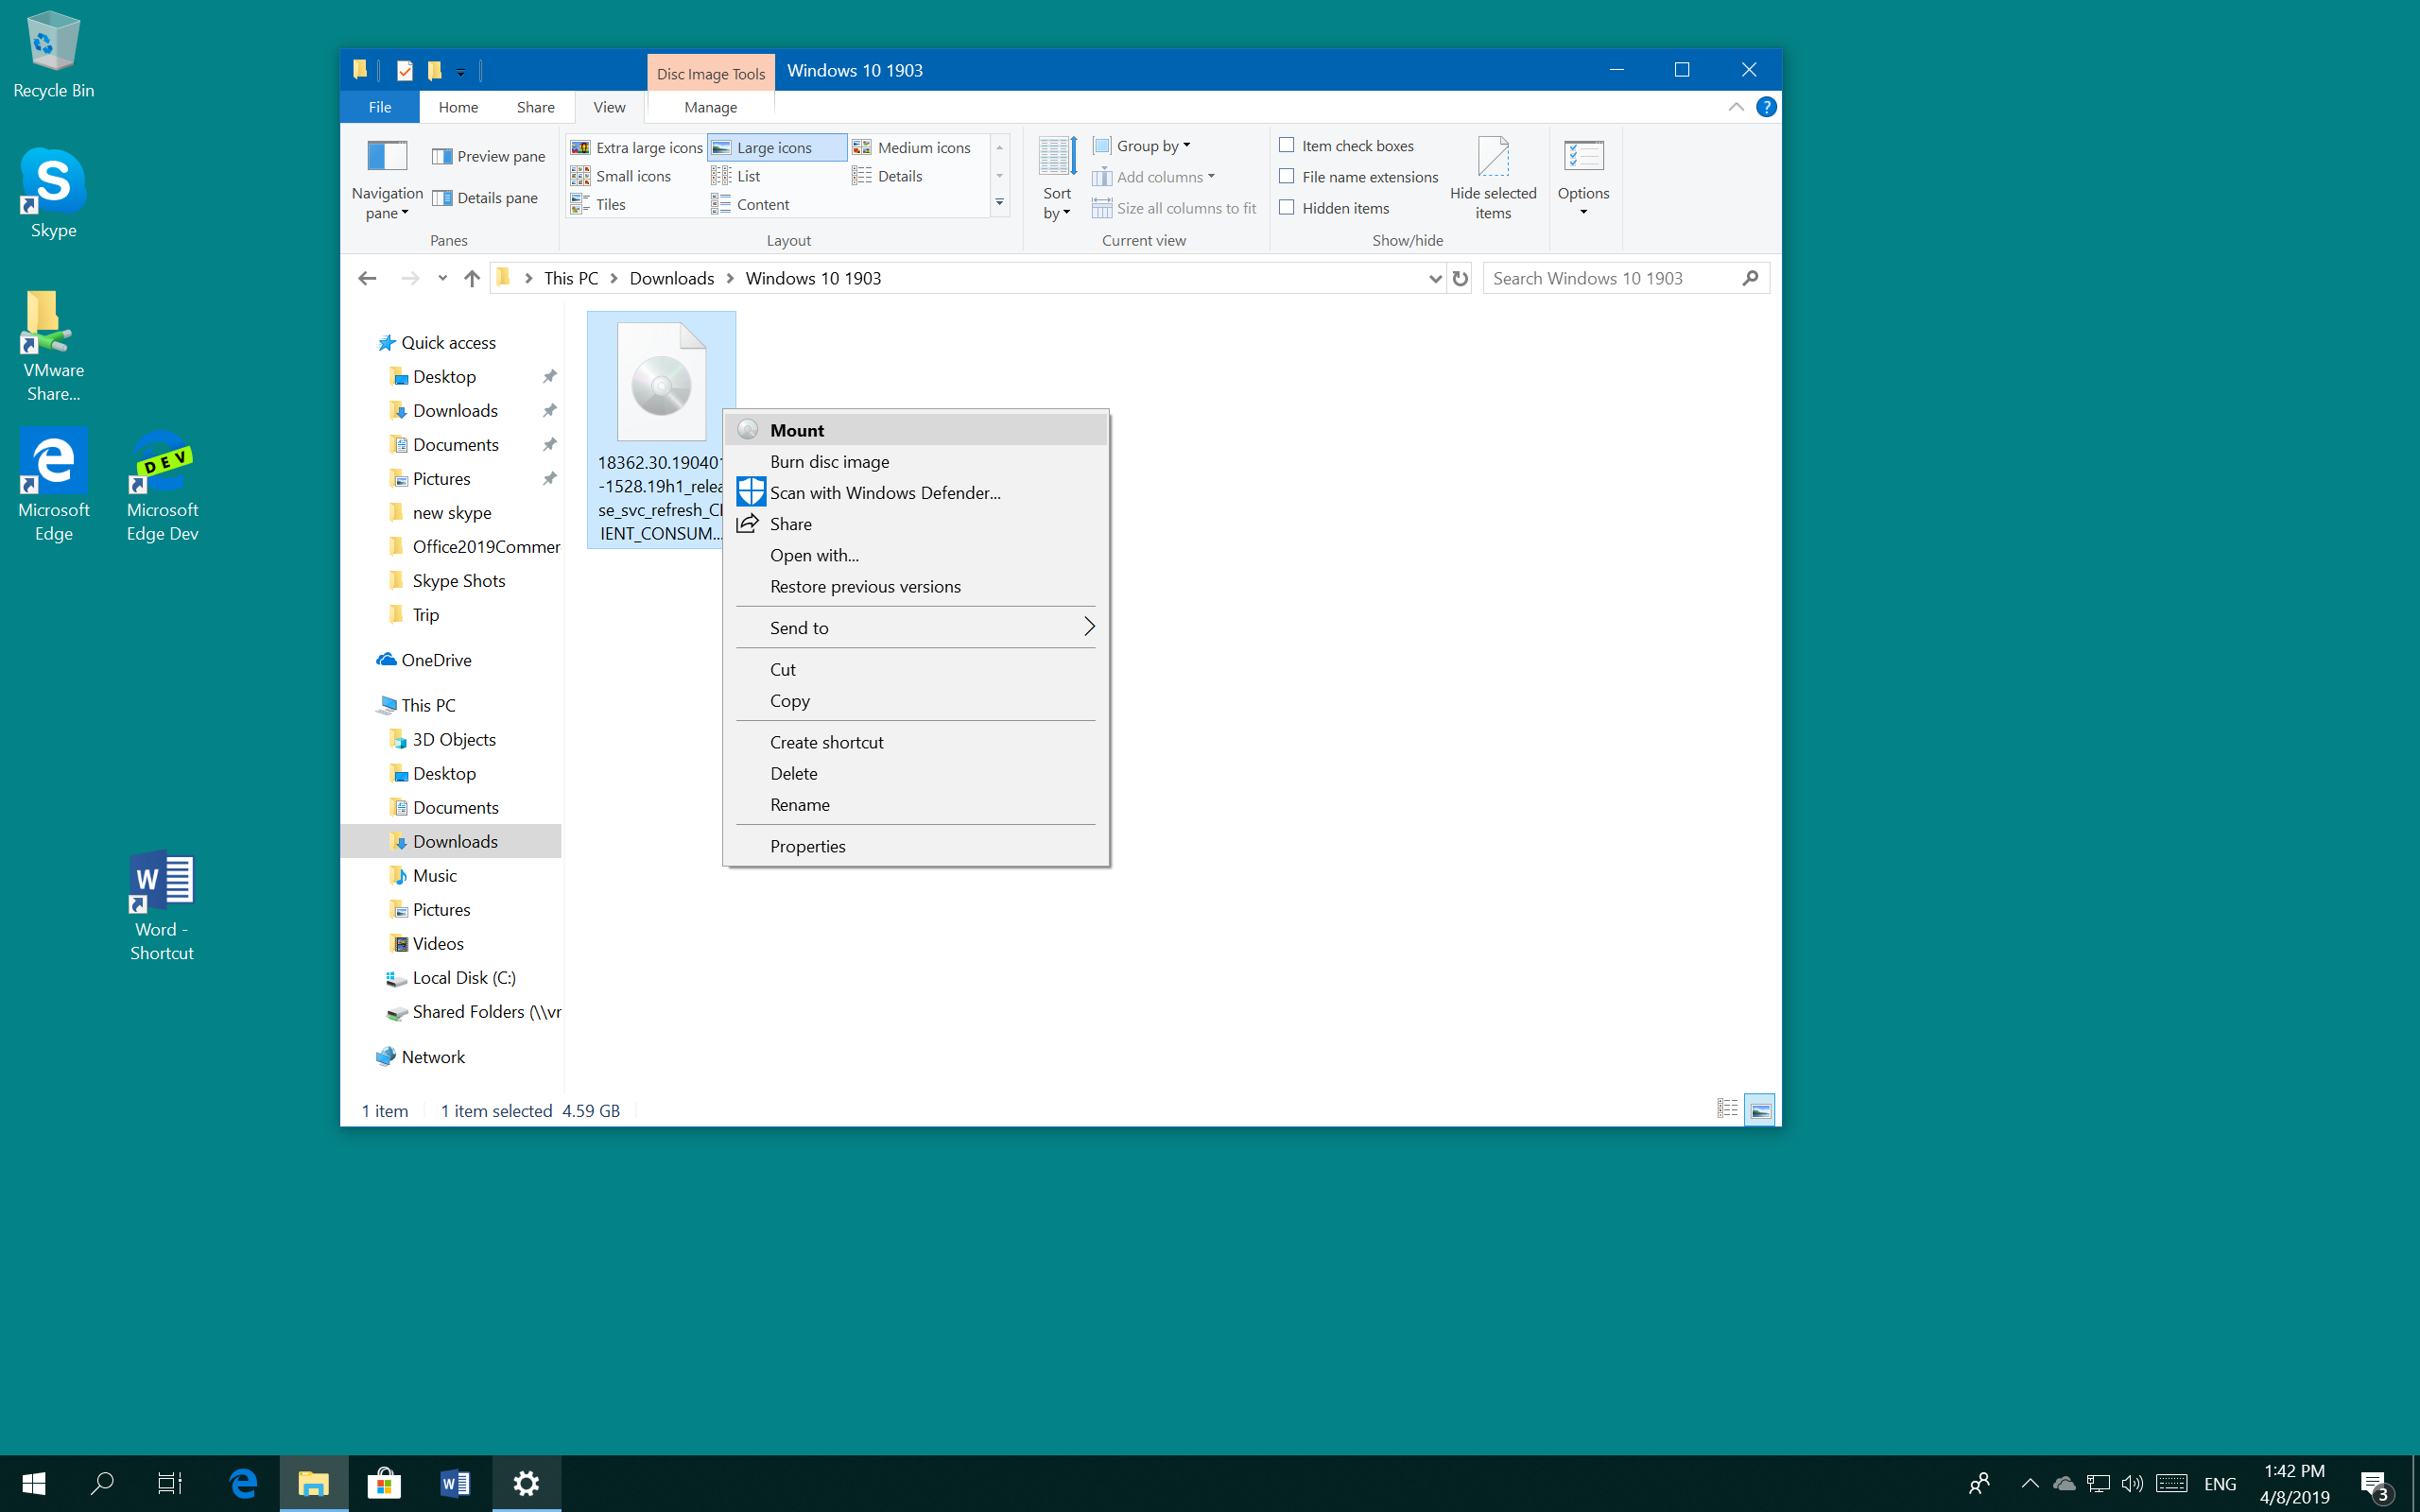
Boot to the Windows 10 desktop. If you have the Windows 10 ISO, you can right click the ISO file then click Mount. If you are installing from a DVD or USB thumb drive, insert or connect it, then click the on screen notification. If setup does not start automatically, click Start > File Explorer > This PC > open the drive containing the Windows 10 setup files, then double click Setup.exe.
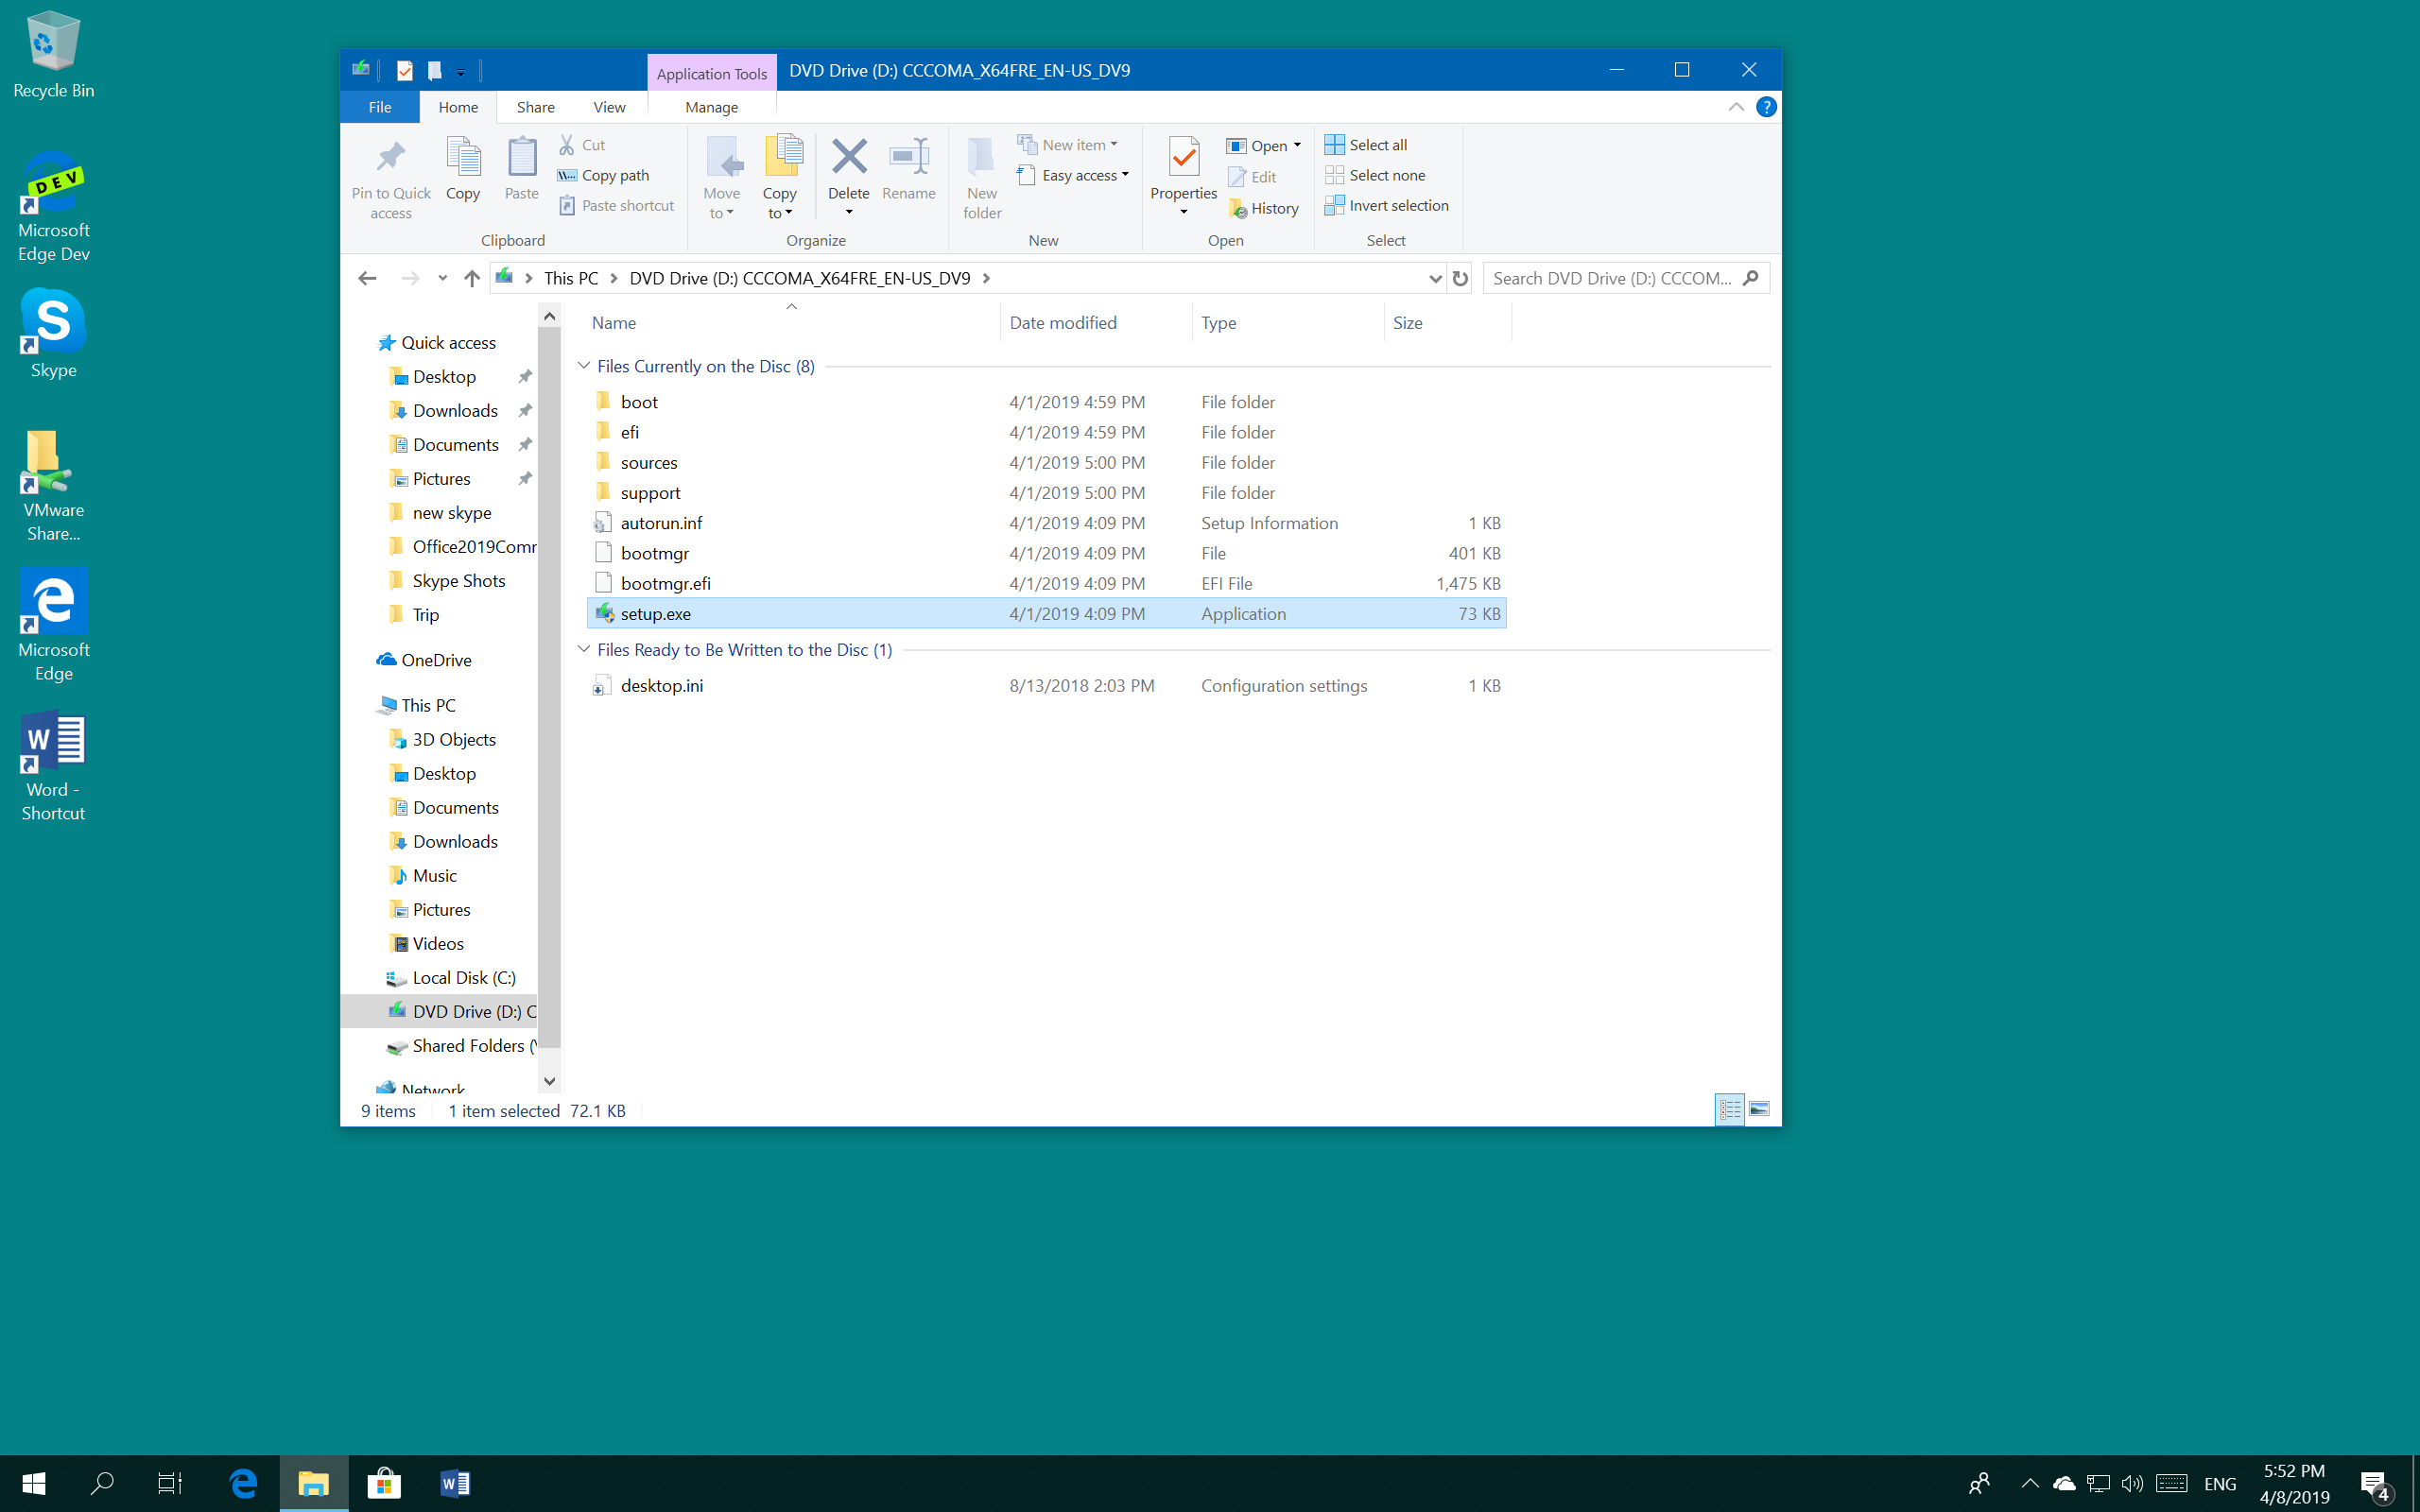
After mounting the ISO file, right click the drive containing the installation files then click Open.

Click Run setup.exe
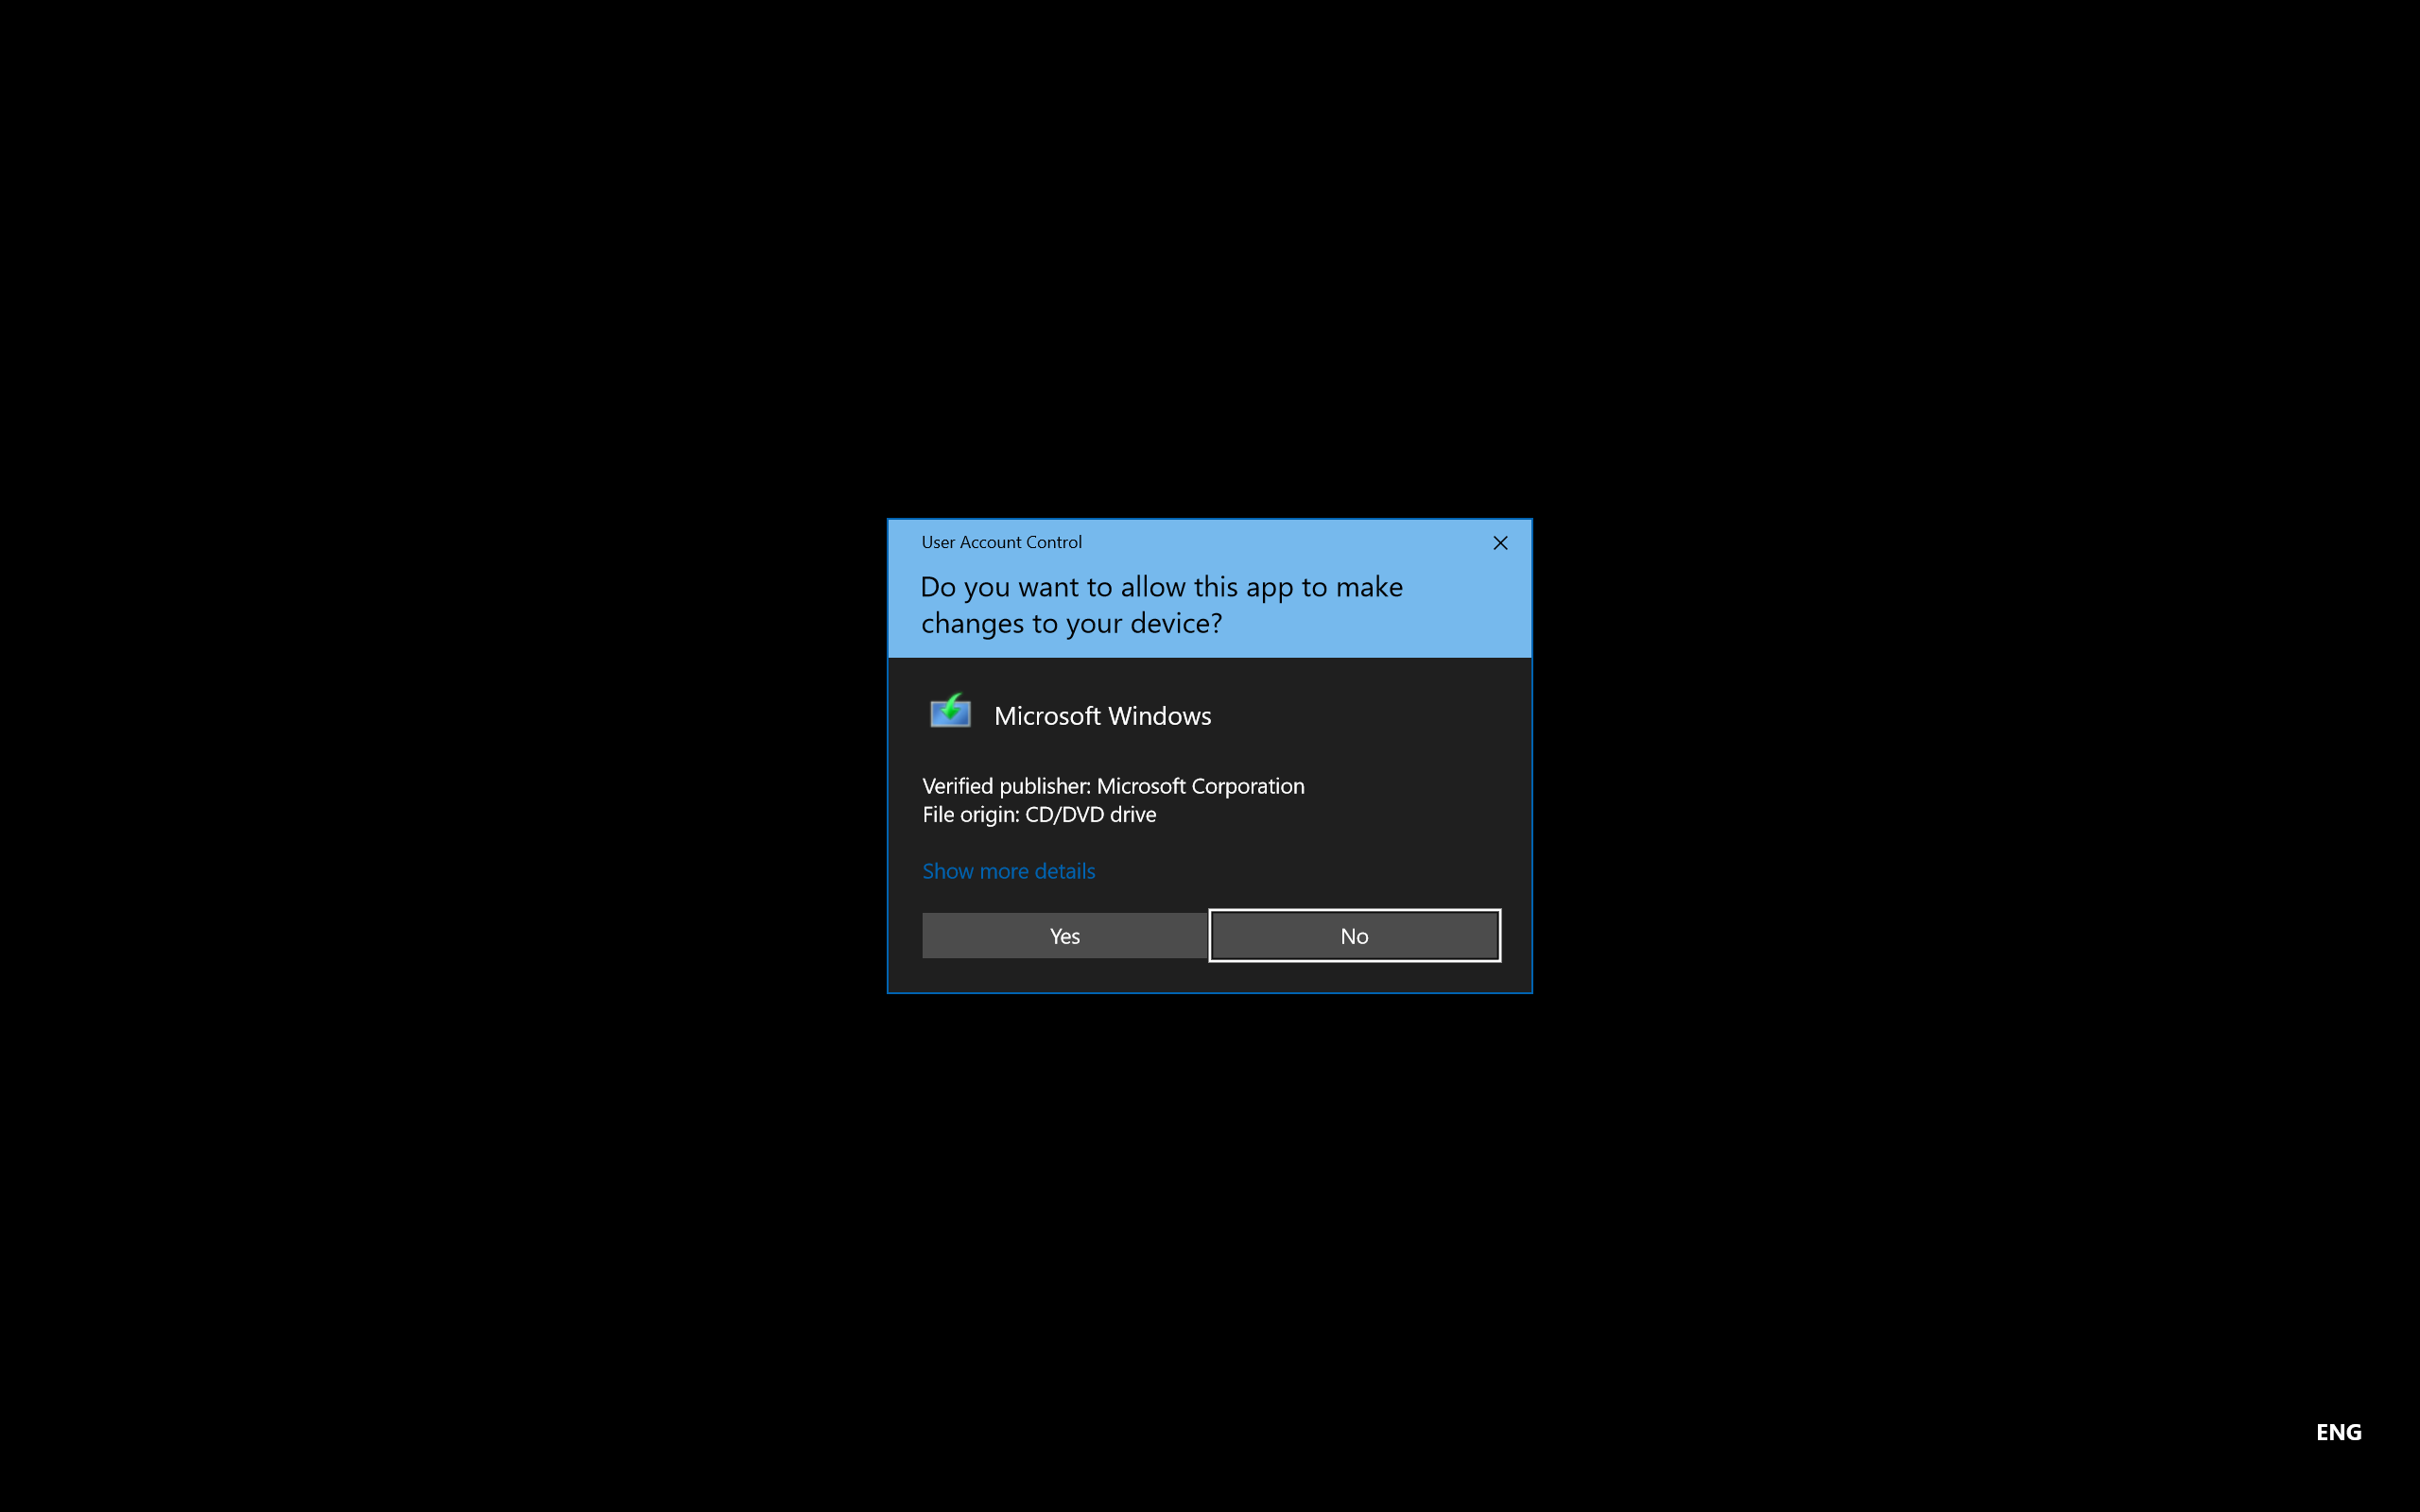
Click Yes to allow the installation to Start.
Wait while setup is initialized.

Windows 11 setup by default will check for important updates and eligibility requirements before it attempts to upgrade. This is recommended since it can help to ensure a smooth upgrade. You can click Change how Setup downloads updates to stop this. Click Next.

Wait while setup checks for updates that might make the installation go smoothly.
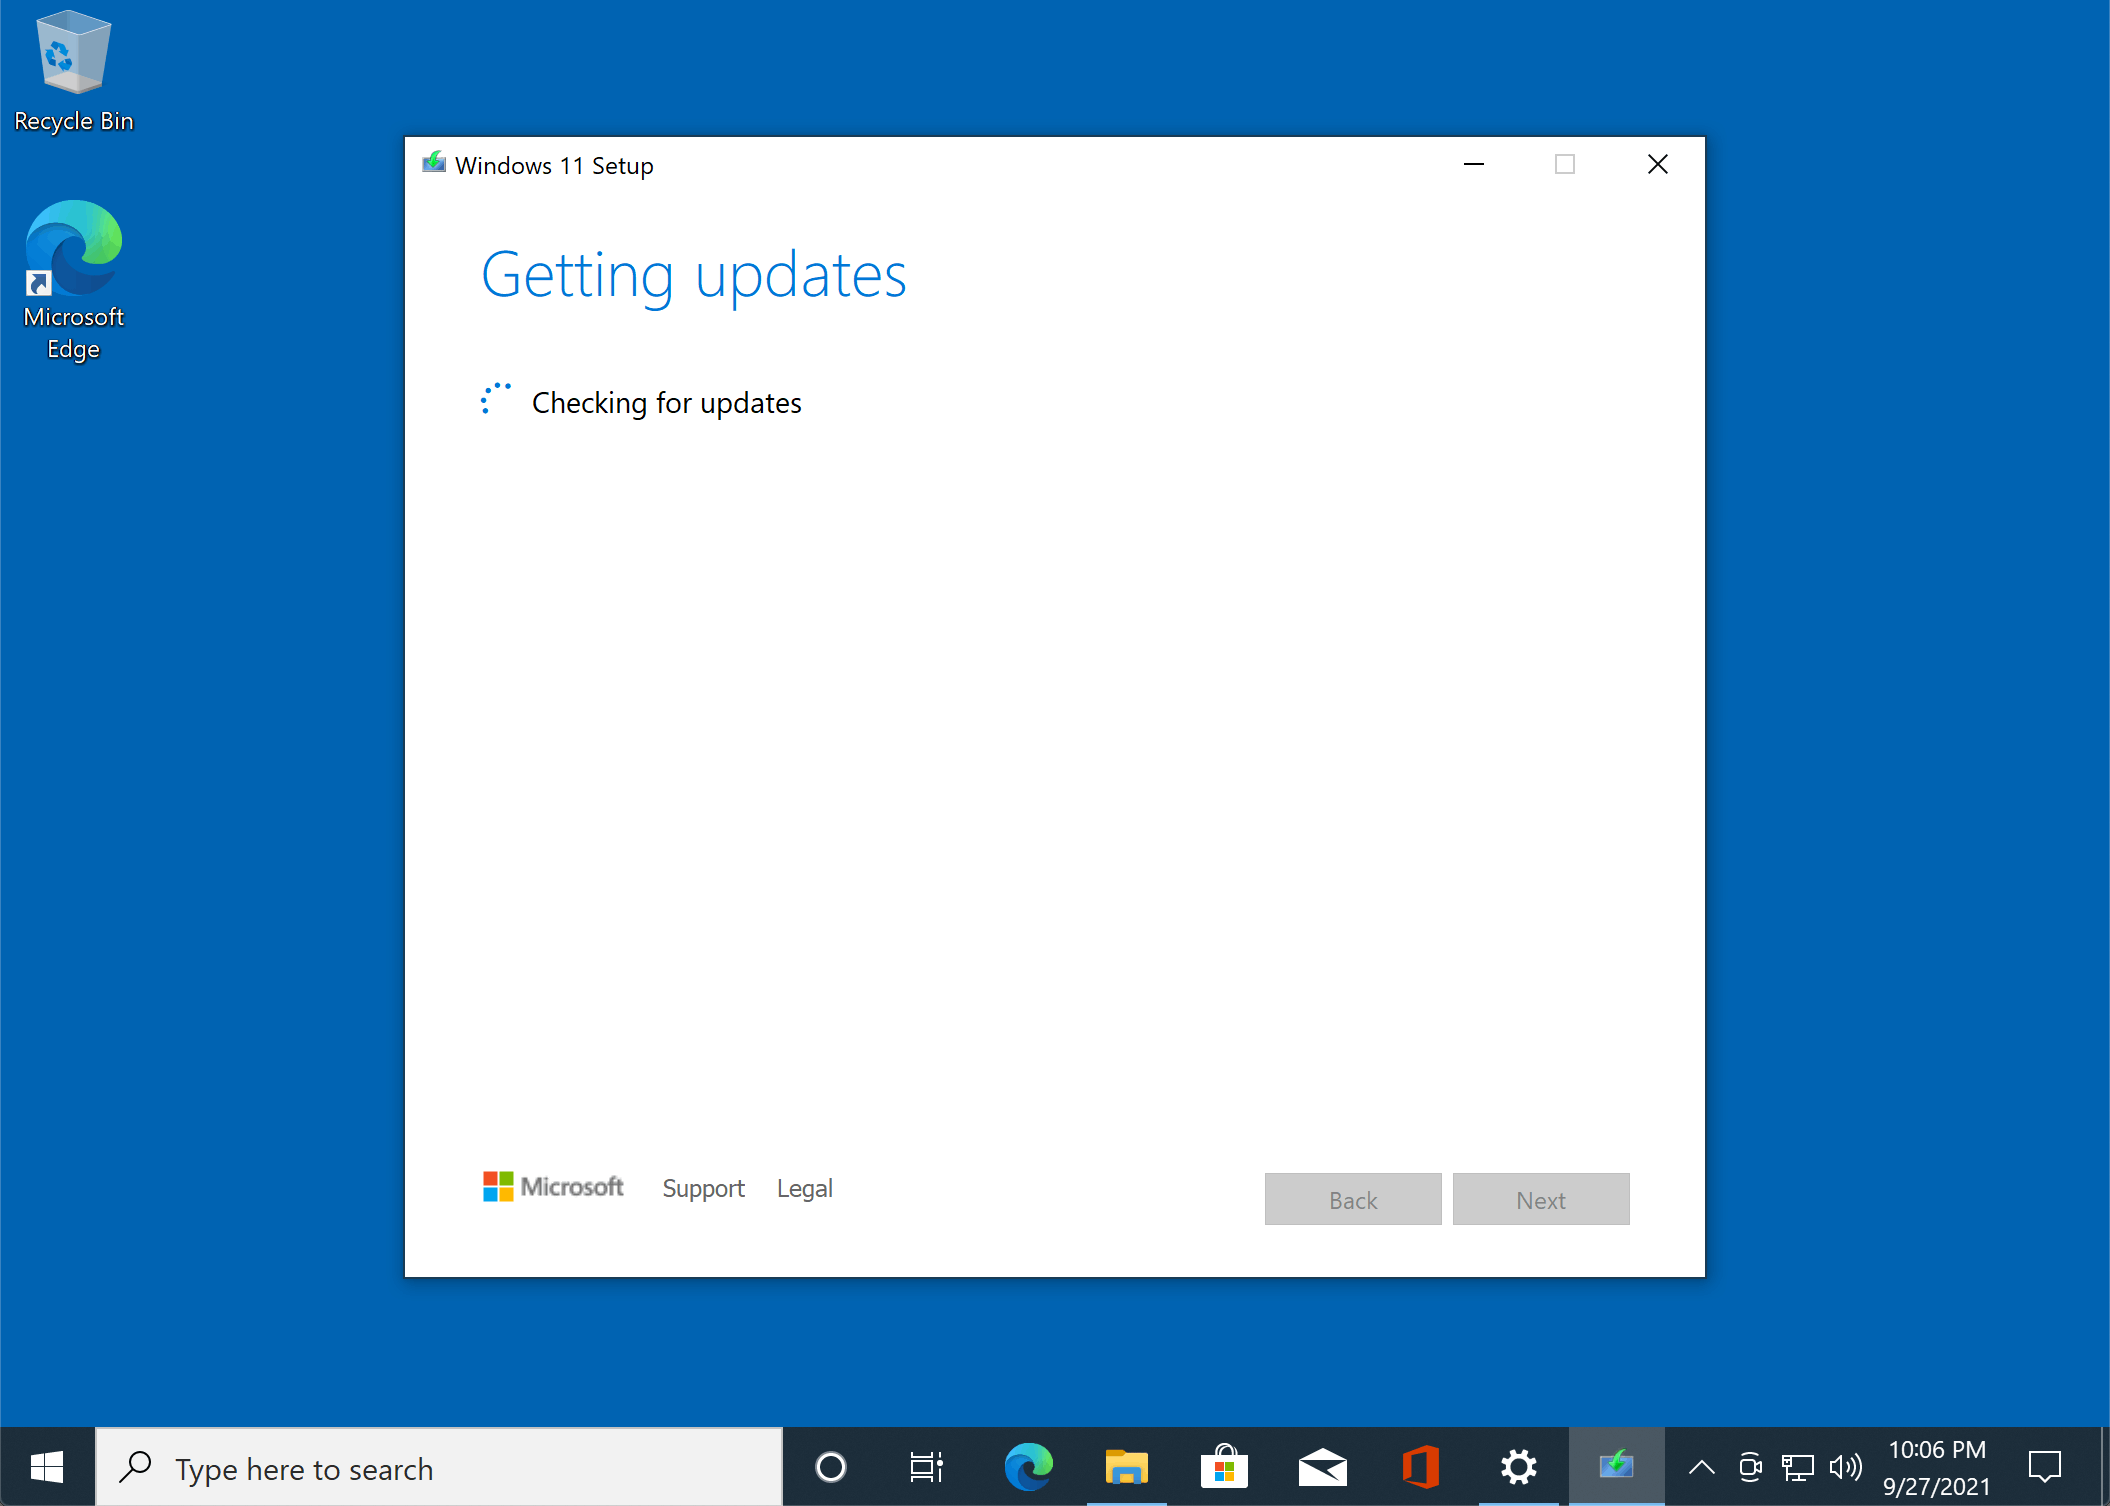
Wait while Windows 11 setup checks your system for compatibility issues.

Accept the End User License Agreement.

Wait while Windows 11 setup does one final check to ensure your system is ready.
Windows 11 setup will check if you have enough disk space. If you don’t, review the following article for instructions how to upgrade to Windows 10 feature update on a system with limited disk space:
How to Upgrade on Windows on a Drive with Limited Space

Please note, you have the option of choosing what you would like to keep, which includes personal files, apps and settings.

If you want to perform a new install or just keep your files click Change what to keep. Once you have chosen the desired options, click Install to begin.
To learn more about performing a clean install: How to: Perform a clean install of Windows

This will be your screen for a little while. During the installation, your computer will restart several times.

After the first restart, Windows 11 setup will resume.

You will notice the setup experience has once again been refined from the previous animated circle. This will be your screen for a while. When complete, Windows 11 setup will restart automatically.

You will be greeted by the new Windows 11 lock screen

Sign into your account.

Wait while Windows 11 completes application updates and post setup tasks.

That’s it, the Windows 11 is installed. You can check Windows Update for latest updates, click Start > Settings > Windows Update > Check for Updates.

Windows 10 Starting Setup
For the purposes of this article, I will be upgrading a Windows 7 operating system. As you can see, its a standard installation with a personal file on the desktop and a couple files stored in File Explorer. The procedures are the same for Windows 8/8.1

Windows 7 desktop ready to be upgraded to Windows 10

Once the ISO file is mounted or you have inserted your installation media, click Run Setup when the Autoplay dialog appears. If it does not appear, browse the Windows 10 install media and double click setup to begin.
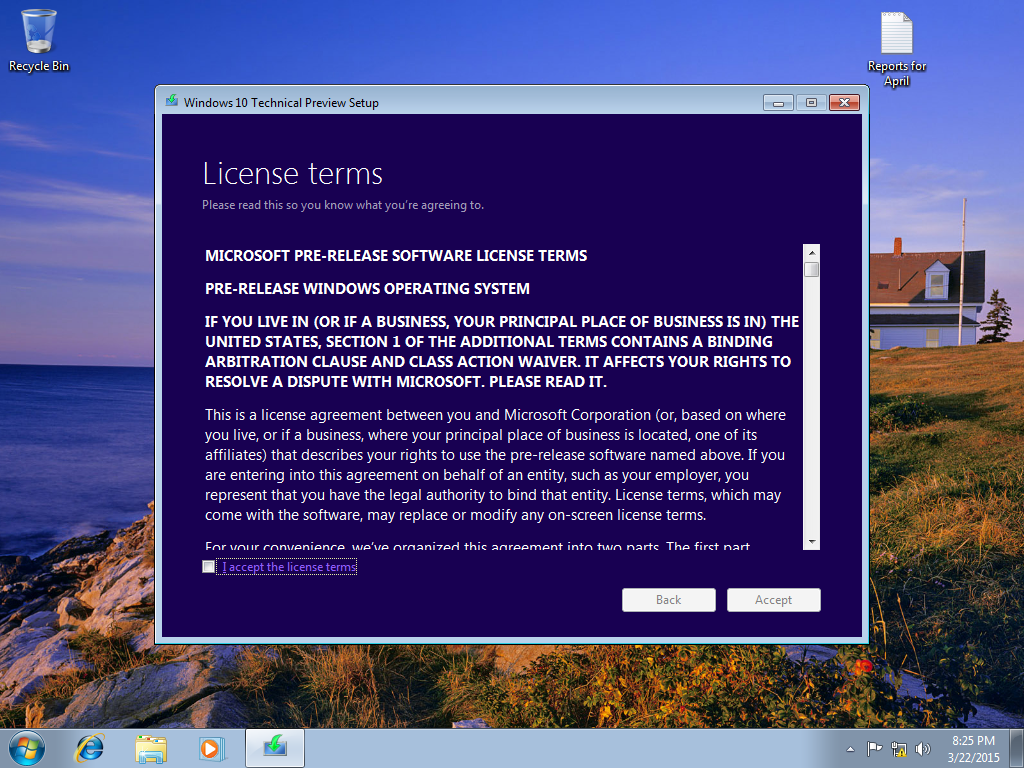
Accept the End User License Agreement then click Accept

Wait while Windows 10 setup checks for available updates for your system that might help to ensure a smooth upgrade

Continue to wait
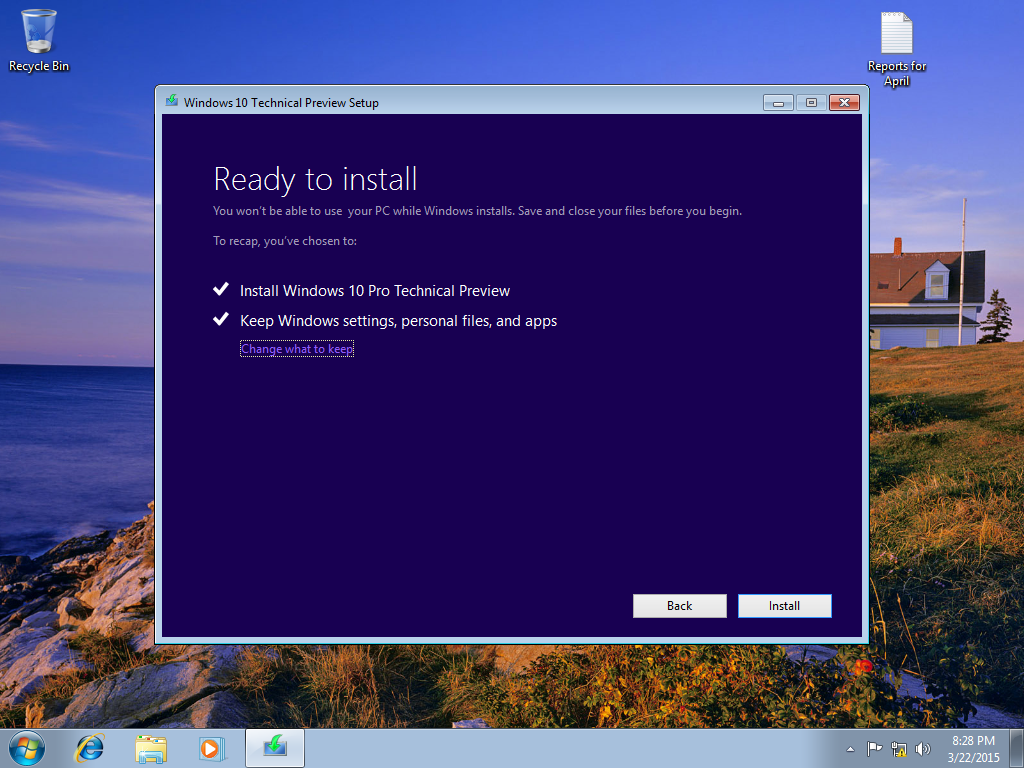
At the 'Ready to install' screen you are presented with a summary which includes the task to be completed:
- Install Windows 10
- Keep Windows Settings, personal files and apps
Click Change what to keep and make any necessary adjustments.

Once satisfied, click Install


After restarting, Windows logo will appear on screen, this might be here for a while, as long as you see the indicater, everything should be ok.

Here you are presented with the new setup experience that provides a spherical progress indicator of the installation progress. When complete, you will see the Getting ready notification appear on screen. As noted, your computer will restart during this phase of setup.

Sign into your account and click Next


Wait while Windows finalizes your settings

Continue to wait while Windows installs modern applications.
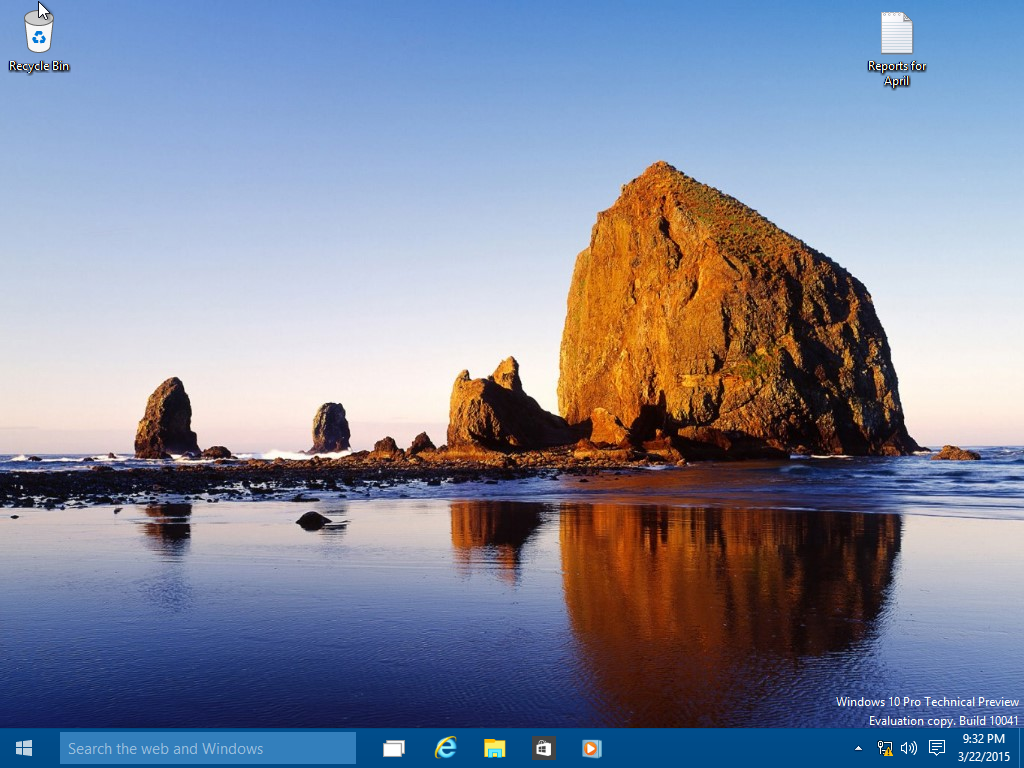
Success! Windows 10 installed.
Launch Windows Update and check for the latest updates.
Resources:
How to: Install and Update drivers in Windows 10
How to: connect to a Microsoft Account in Windows 10
How to: 10 things to do if Windows 10 Setup fails.
How to: Rollback to a previous version of Windows from Windows 10