How to: Perform a Repair Upgrade Using the Windows 11 or Windows 10 ISO file

Technical Level : Intermediate

Summary

If your Windows 11 or Windows 10 installation is demonstrating unusual behavior such as built in apps not working or launching, you can perform a repair upgrade to fix the problem. A repair upgrade is the process of installing Windows over the existing installation on your hard disk, using your installation USB, DVD media or ISO file. Performing this can repair broken operating system files while preserving your personal files, settings and installed applications.


Details

The first thing you will need to do is download the latest .ISO file available for Windows 11 or Windows 10.

Microsoft MVP and Microsoft Community Contributor Kapil Arya has prepared a step by step video which shows you how the actual repair upgrade works. Go check it out:

https://youtu.be/hYOyuWgEUjA

To download official ISO media for Windows 11 or Windows 10 from Microsoft.

https://www.microsoft.com/en-us/software-download

Starting the installation

When you download the .ISO file, you can start the upgrade immediately by simply double clicking the .ISO file to mount it. If you are running Windows 8/8.1 and plan to upgrade your operating system, you can also use this method. Windows 7 and earlier will need to prepare install media. If you prefer to prepare installation media and start the installation from that, review the following article (see section Download and prepare .ISO file):

http://answers.microsoft.com/en-us/insider/wiki/insider_wintp-insider_install/how-to-dual-boot-the-latest-windows-build-with/9695dfc7-1c13-4d8d-b10b-587e78c6ac36     

Repair Upgrade Windows 11

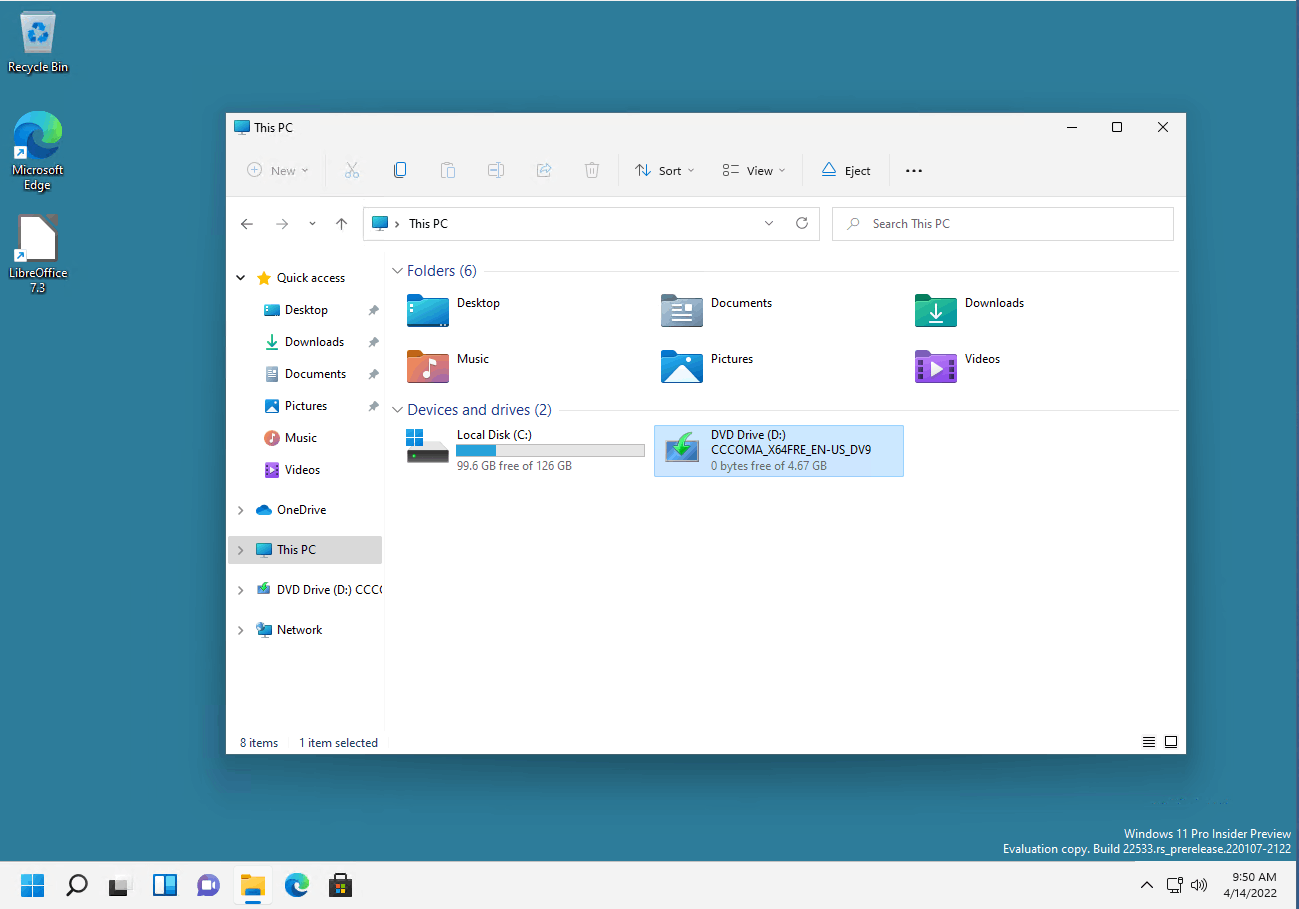
After downloading the Windows 11 ISO media, launch File Explorer, the double click the setup file under This PC

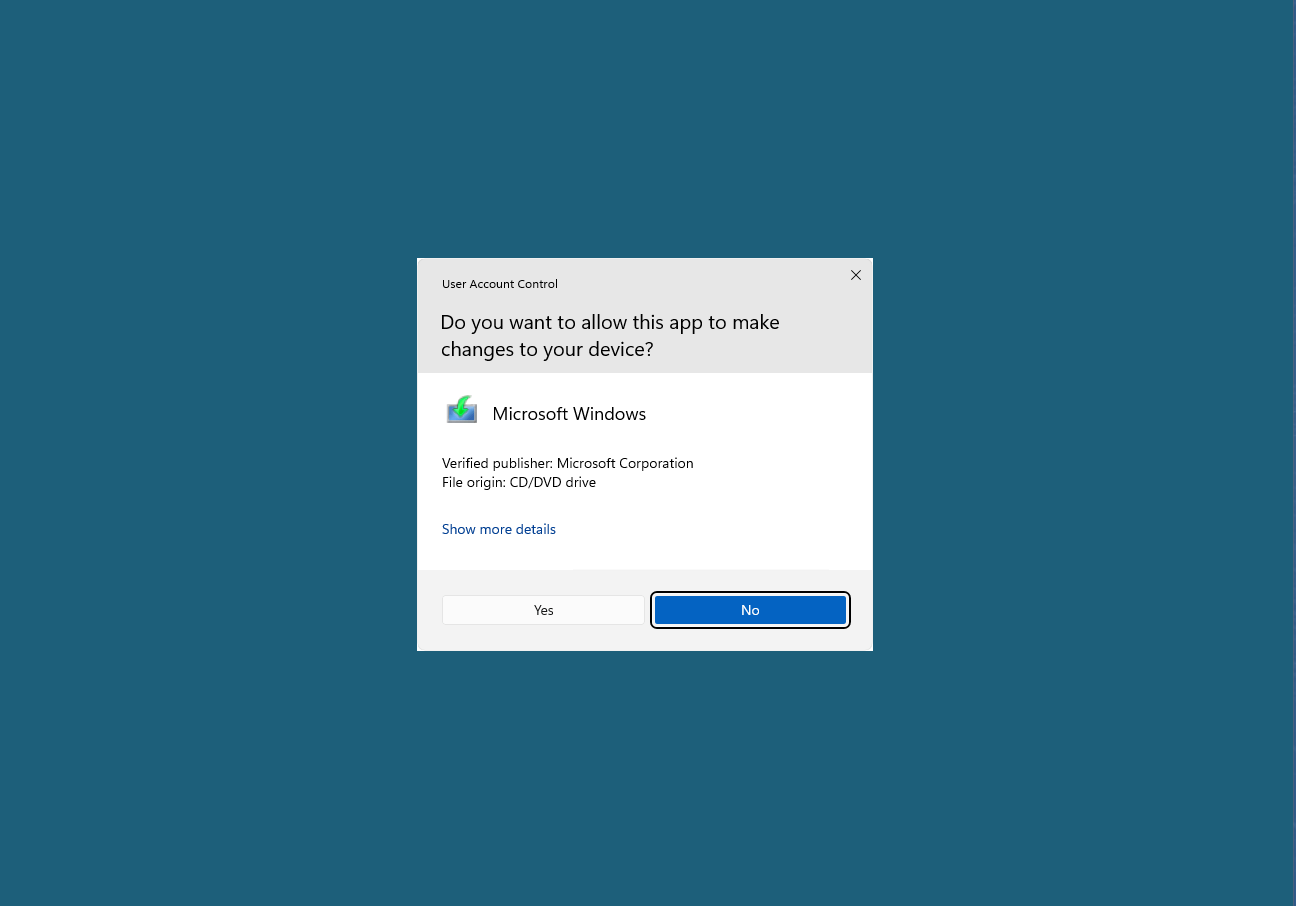
Windows will prepare setup, if prompted, click Yes.

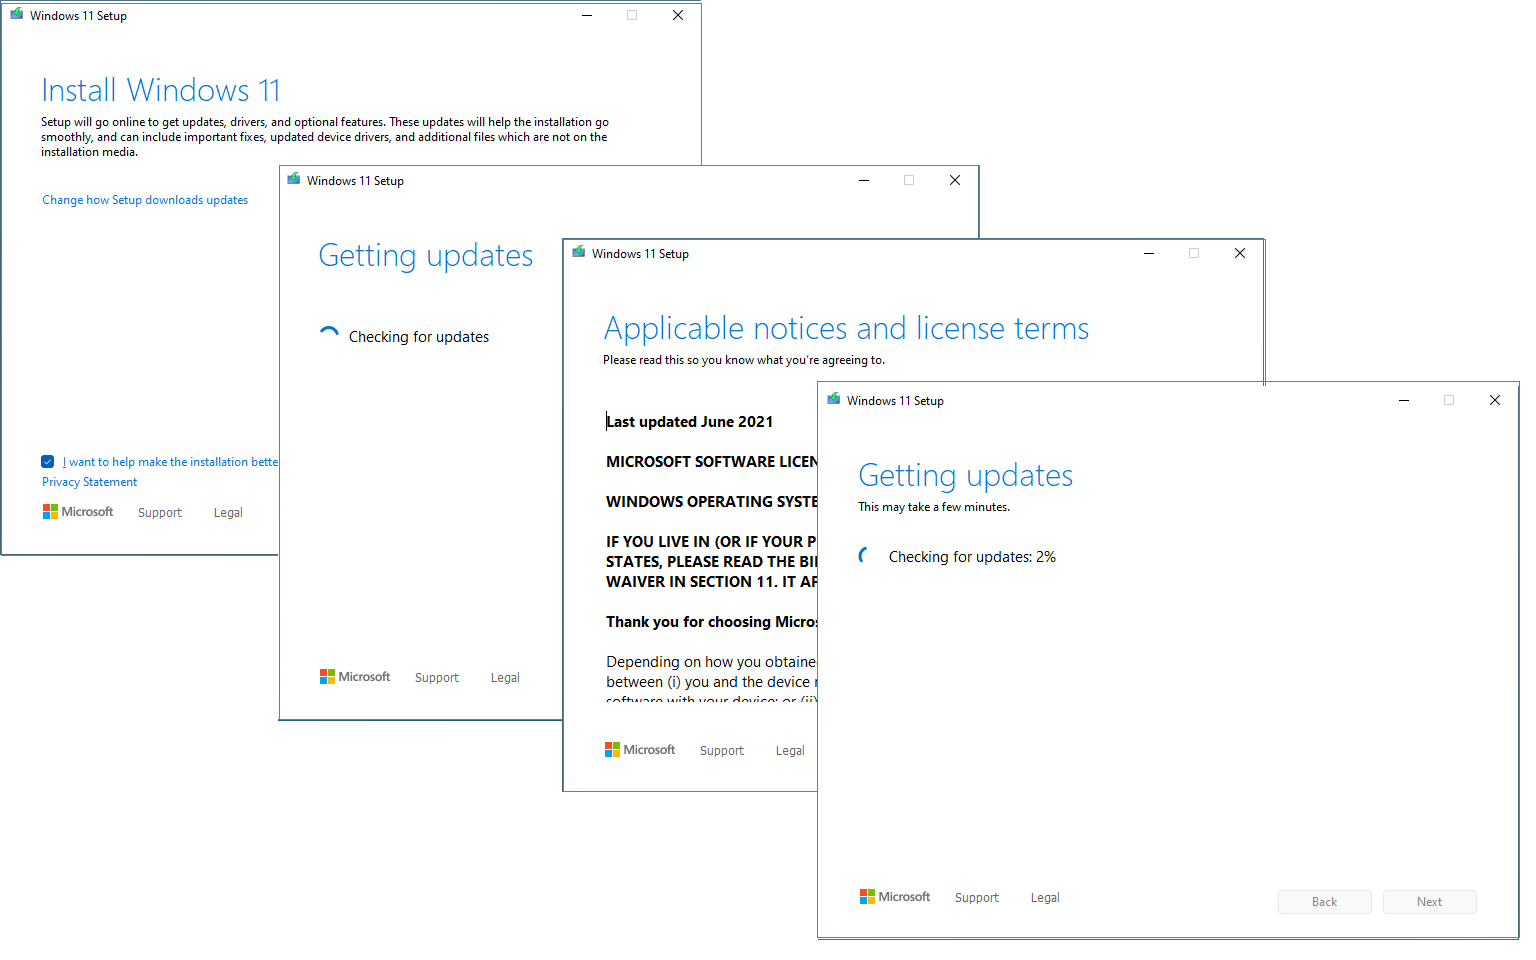
Once the setup wizard starts, Windows will go through series of steps such as downloading essential updates to ensure a smooth upgrade and require accepting the license agreement.

At this point, you can change settings whether you want to keep on files or apps. Since we are performing a repair upgrade, we will leave these settings as is. Click Install to begin the repair upgrade.

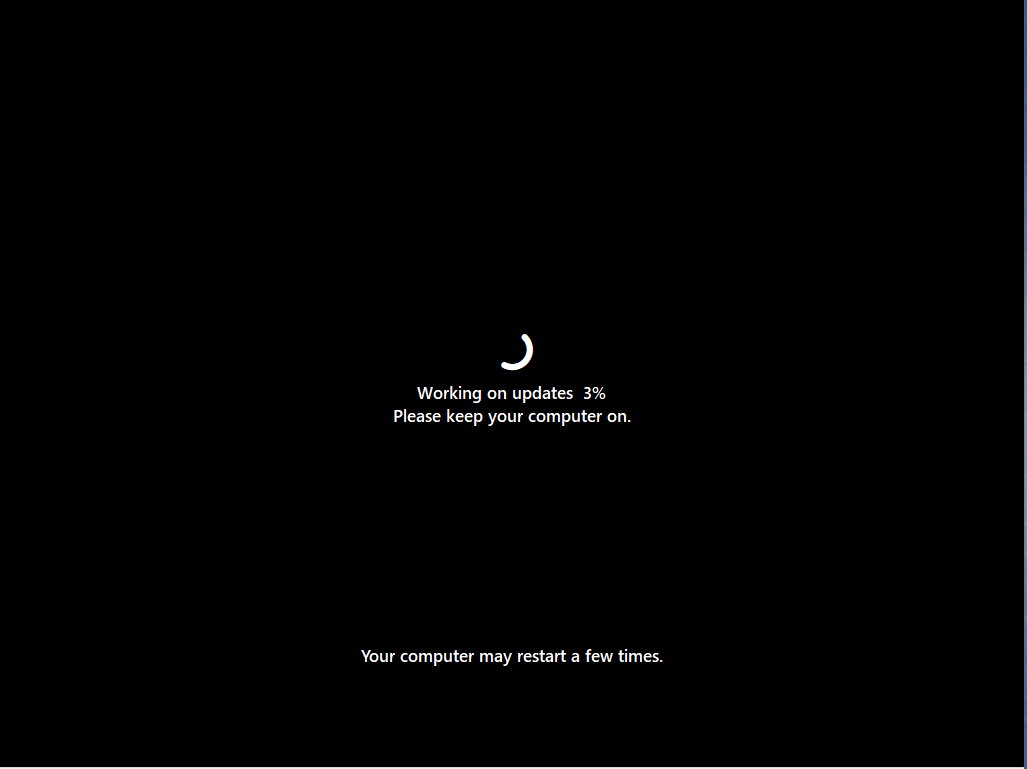
During this portion of setup, Windows will copy files then restart your computer.

This will be your screen until the repair upgrade is complete

Once the repair upgrade is complete, you can sign into Windows 11

Repair Upgrade Windows 10

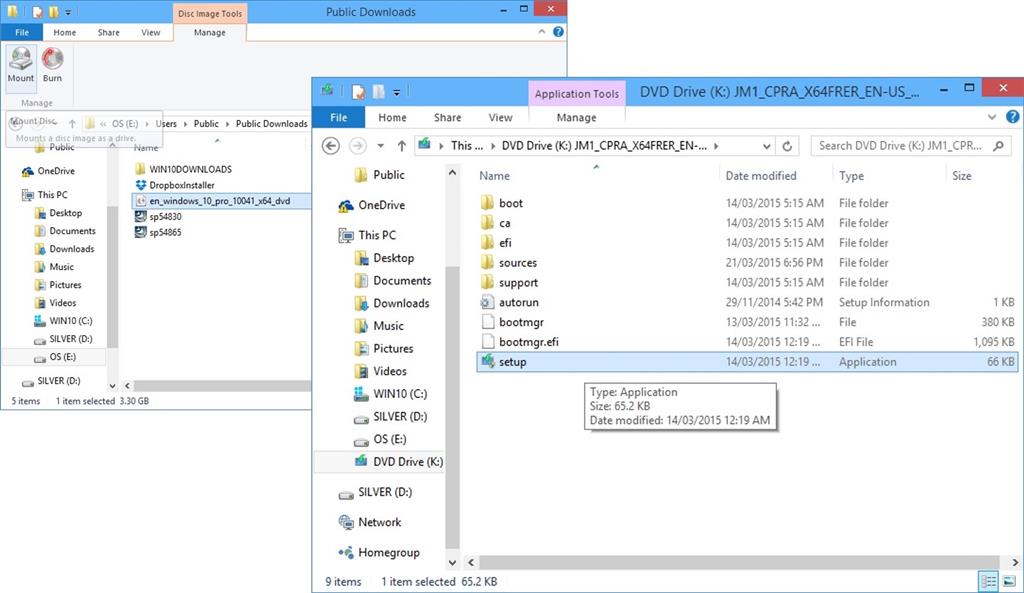
Here I have my .ISO file downloaded and mounted. All I need to do is double click setup to begin the installation.

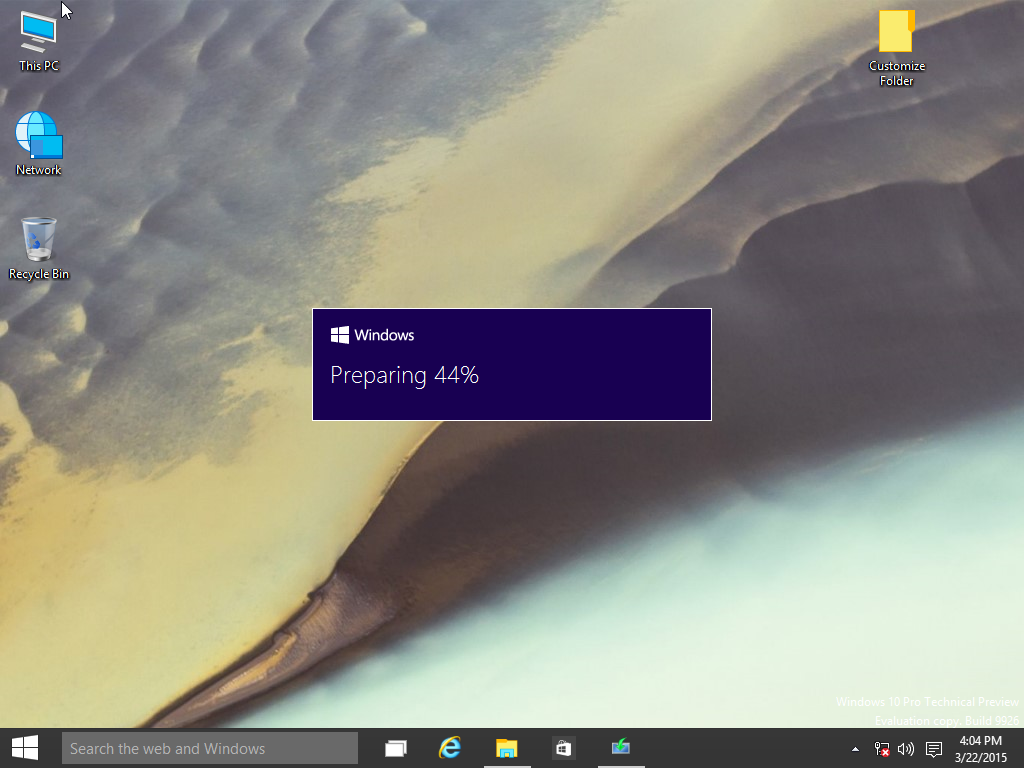
Windows is preparing setup.

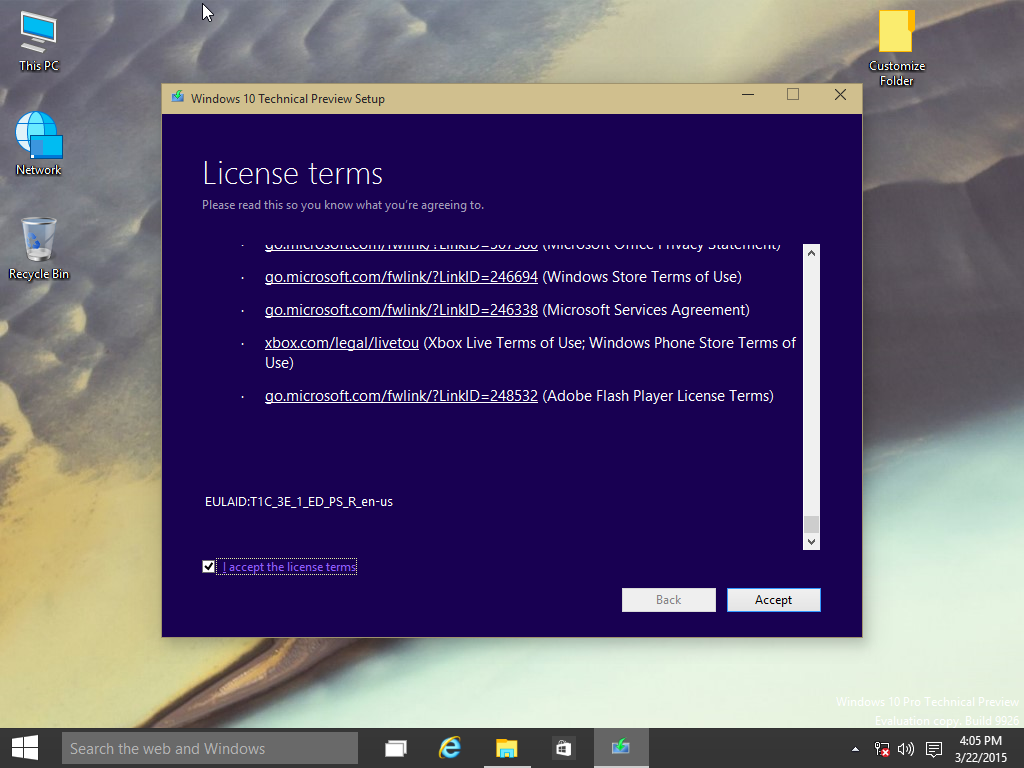
Read and accept the Windows License terms then click Accept

If you see this screen and it goes by really quick, don't worry, you will get a chance when its dones configuring to choose what you want to keep.

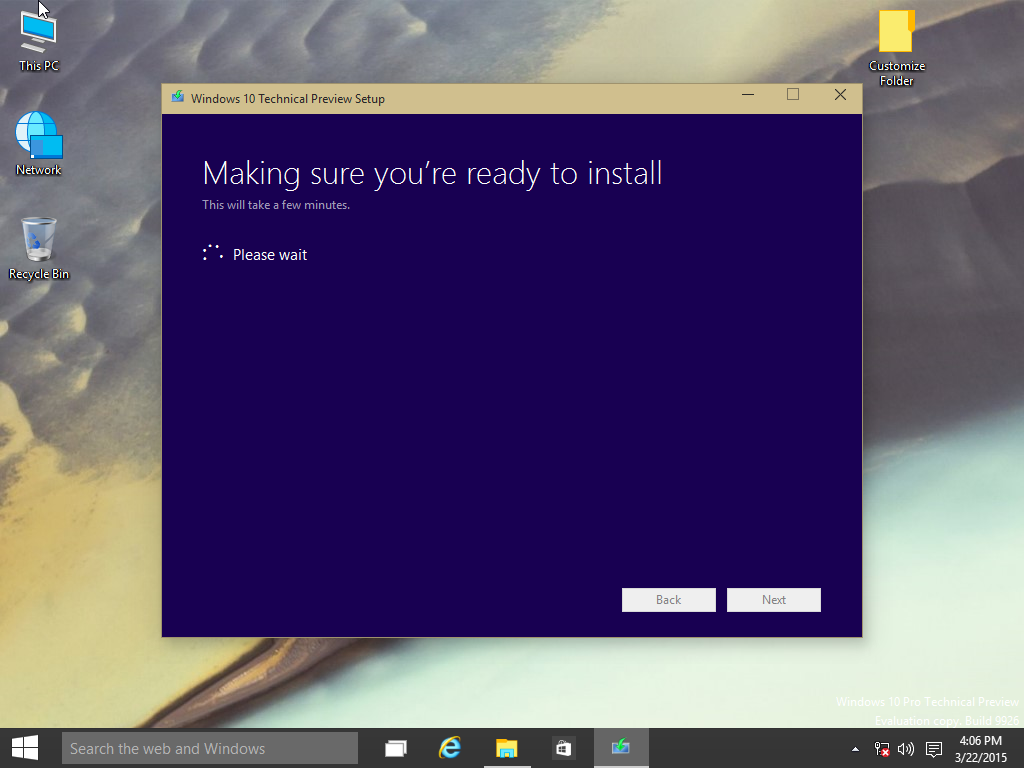
Windows 10 doing additional configurations.

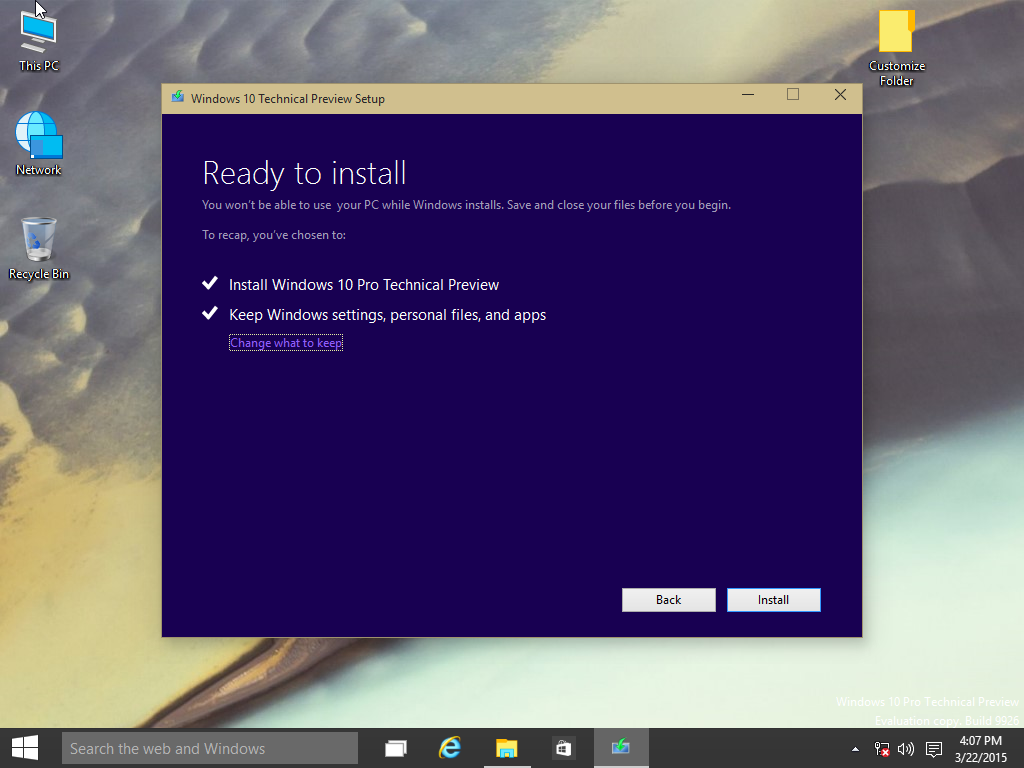
At the 'Ready to install' screen you are presented with a summer which includes the task to be completed:

- Install Windows 10 Pro

- Keep Windows Settings, personal files and apps

Click Change what to keep make any necessary adjustments.

Once satisfied, click Install

Windows 10 setup will then change to full screen, wait while setup installs. Your computer will be restarted automatically.

After restarting, Windows logo will appear on screen, this might be here for a while, as long as you see the indicater, everything should be ok.

Here you are presented with the new setup experience that provides a spherical progress indicator of the installation process. When complete, you will see the Getting ready notification appear on screen. As noted, your computer will restart during this phase of setup.

Sign into your account and click Next

Here you are preseted with the Out of Box Experience. The Out of Box Experience page is where you get to configure detailed settings in Windows, which includes creating a user account, privacy, sync PC settings and install modern applications. For the purposes of this article, I will choose Use express settings

Wait while Windows finalizes your settings

Continue to wait while Windows installs modern applications.

Sign in if prompted

Thats it! You have successfully completed a repair upgrade.

Press Windows key + R

Type: winver

Hit Enter on your keyboard to verify the build number

You can also see this in the build number on the desktop

Related:

Was this article helpful?

Sorry this didn't help.

Great! Thanks for your feedback.

How satisfied are you with this article?

Thanks for your feedback, it helps us improve the site.

How satisfied are you with this article?

Thanks for your feedback.

* Please try a lower page number.

* Please enter only numbers.

* Please try a lower page number.

* Please enter only numbers.

Thank you for this detailed tutorial. When I start to do mine, I only get the option to keep personal files (or nothing). I have a lot of programs installed that I can't afford to lose (in c:\program files\). If I go ahead while I "keep personal files only", will I lose my programs? Is there a way to keep everything like you have?

620 people found this comment helpful

·

Was this comment helpful?

Sorry this didn't help.

Great! Thanks for your feedback.

How satisfied are you with this comment?

Thanks for your feedback, it helps us improve the site.

How satisfied are you with this comment?

Thanks for your feedback.

Which version and architecture of Windows is currently installed?

Which version and architecture of Windows 10 build 10041 did you download?

Find out the version and architecture:

Windows 7:

Click Start

Right click Computer

Click Properties

Look under System Type (32 or 64 bit operating system installed)

Windows 10:

Press Windows key + X

Click System

Look under System Type (32 or 64 bit operating system installed)

Learn more:

How to know the Edition, Architecture, Channel and build of Windows 10 installed.

Best,
Andre
twitter/adacosta
groovypost.com

23 people found this comment helpful

·

Was this comment helpful?

Sorry this didn't help.

Great! Thanks for your feedback.

How satisfied are you with this comment?

Thanks for your feedback, it helps us improve the site.

How satisfied are you with this comment?

Thanks for your feedback.

I am running Windows 10, x64 bit, build 9926.

I downloaded Windows 10, x64 bit, build 10041 [English (UK)] from http://windows.microsoft.com/en-us/windows/preview-download.

39 people found this comment helpful

·

Was this comment helpful?

Sorry this didn't help.

Great! Thanks for your feedback.

How satisfied are you with this comment?

Thanks for your feedback, it helps us improve the site.

How satisfied are you with this comment?

Thanks for your feedback.

Its possible you might be running build 9926 Windows 10 English US.

You can't do cross language upgrades in your case, English US to English UK. You will need download build 10041 English US.

Best,
Andre
twitter/adacosta
groovypost.com

17 people found this comment helpful

·

Was this comment helpful?

Sorry this didn't help.

Great! Thanks for your feedback.

How satisfied are you with this comment?

Thanks for your feedback, it helps us improve the site.

How satisfied are you with this comment?

Thanks for your feedback.

I just downloaded and tried the US version (x64, etc). The same options appeared as before: keep personal files or nothing.

As a side note, I have tried updating the build through windows update and it attempts the install, recovers to current version (9926) and gives the errors "0x80070003 - 0x20007".

I have tried to fix this. I have looked for possible solutions to this/these error/s but nothing seems to work. One of the suggested fixes was to stop windows update and rename softwaredistribution. Every way of doing so failed - "access denied". 

I also attempted to do other fixes through Command Prompt (as admin) - the exact fixes I forget. Each time I would run into a similar issue. A fix might use a command to trigger an in-built process, but each time an error would come back saying the process is having issues/doesn't work. (I understand this last paragraph is very vague - I apologise - I'm just trying to provide more details.)

57 people found this comment helpful

·

Was this comment helpful?

Sorry this didn't help.

Great! Thanks for your feedback.

How satisfied are you with this comment?

Thanks for your feedback, it helps us improve the site.

How satisfied are you with this comment?

Thanks for your feedback.

I have been reading all these coments and found out they are weeks behind the build I have running on my pc. I did a format and clean on a  hard drive that used to be split with win, 7 and win, XP, it was loaded with build 100074, tonight I am now downloading an update to build 10122 takes a long time to download the u

pdates it seems,.

16 people found this comment helpful

·

Was this comment helpful?

Sorry this didn't help.

Great! Thanks for your feedback.

How satisfied are you with this comment?

Thanks for your feedback, it helps us improve the site.

How satisfied are you with this comment?

Thanks for your feedback.

That's a good tutorial. But does this way affect another os that is installed on the same computer? Ex: When I turn on my computer, it goes to windows 10 directly but doesn't show boot option

33 people found this comment helpful

·

Was this comment helpful?

Sorry this didn't help.

Great! Thanks for your feedback.

How satisfied are you with this comment?

Thanks for your feedback, it helps us improve the site.

How satisfied are you with this comment?

Thanks for your feedback.

Doesn't affect mine and I have been doing this since build 9926. If you have problems booting into your other version of Windows, install EasyBCD and add a boot entry for it.
Best,
Andre
twitter/adacosta
groovypost.com

17 people found this comment helpful

·

Was this comment helpful?

Sorry this didn't help.

Great! Thanks for your feedback.

How satisfied are you with this comment?

Thanks for your feedback, it helps us improve the site.

How satisfied are you with this comment?

Thanks for your feedback.

Hi, Andre

Great article as all of your replies to Win 10 topics in the community forums!

I have one problem with the process though. My Win 10 TP is installed into VHD and I dual-boot into it.

My laptop has MBR and that disk has Bad sector, Recovery and Hibernation reserved partitions which along with main Win8.1 partition brings it to max of that you can have on MBR disk, so I cannot install Win 10 into its own partition.

My Win 10 is 10074 and when I try to upgrade it to 10130 via Fast update ring I get error 0x8024200D.

So, I tried the process that you outlined above and instead of "Please choose what to keep" I get "Windows cannot be installed on the Virtual Drive"

Do you know if Virtual Drive install are no longer supported in Win 10 (which will be a "game over" for me) or it is a temporary restriction in Fast ring builds or there is some that would allow me to upgrade to the latest build?

- Thanks, Vladimir

23 people found this comment helpful

·

Was this comment helpful?

Sorry this didn't help.

Great! Thanks for your feedback.

How satisfied are you with this comment?

Thanks for your feedback, it helps us improve the site.

How satisfied are you with this comment?

Thanks for your feedback.

I get this error after I select update? 

This upgrade path is not supported. Please close Setup and re-launch from the root of the media or go back and pick a different installation choice.

56 people found this comment helpful

·

Was this comment helpful?

Sorry this didn't help.

Great! Thanks for your feedback.

How satisfied are you with this comment?

Thanks for your feedback, it helps us improve the site.

How satisfied are you with this comment?

Thanks for your feedback.

* Please try a lower page number.

* Please enter only numbers.

* Please try a lower page number.

* Please enter only numbers.


Forum Article Info


Last updated May 10, 2024 Views 2,823,282 Applies to: