Summary
Since Windows Vista Microsoft included a system imaging utility that makes it easy to backup your entire computer, which you can then use to restore in case of system failure, move to a larger hard disk or simply to have a working state of your computer just in case. As noted, a system image is an exact replica of your hard disk, down to the partition layout. Depending on how large your Windows 10 installation is, it can use a lot of space, so you should invest in an external USB hard disk with a lot of space. In this article, we take a look restoring the system image on a larger hard disk. This makes it quite convenient if you somehow outgrow your current storage allotment.
Details
First, check out the following article how to create a system image here.
Once you have your backup ready, you can proceed to shutdown the system, install your hard disk or restart and boot from the recovery drive or Windows 10 bootable media. If you don’t bootable Windows 10 media, see the following article for instructions:
How to download official Windows 10 ISO files
To learn how to change your BIOS options to boot from the DVD drive, see the following tutorial:
http://notebooks.com/2011/05/05/how-to-load-bios-and-change-boot-configuration/
Once your computer is set to boot from the DVD, you should see this option.
If you are installing from a thumb drive, see the following instructions how to prepare your computer to boot from one:
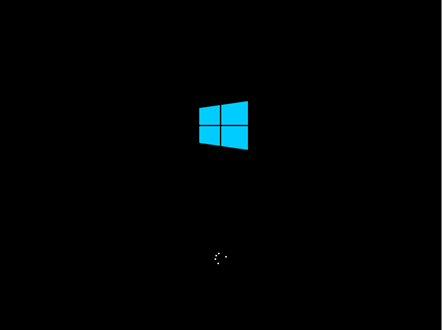
The Windows logo will appear on screen, this might be here for a while, as long as you see the indicater, everything should be ok.
Click Next
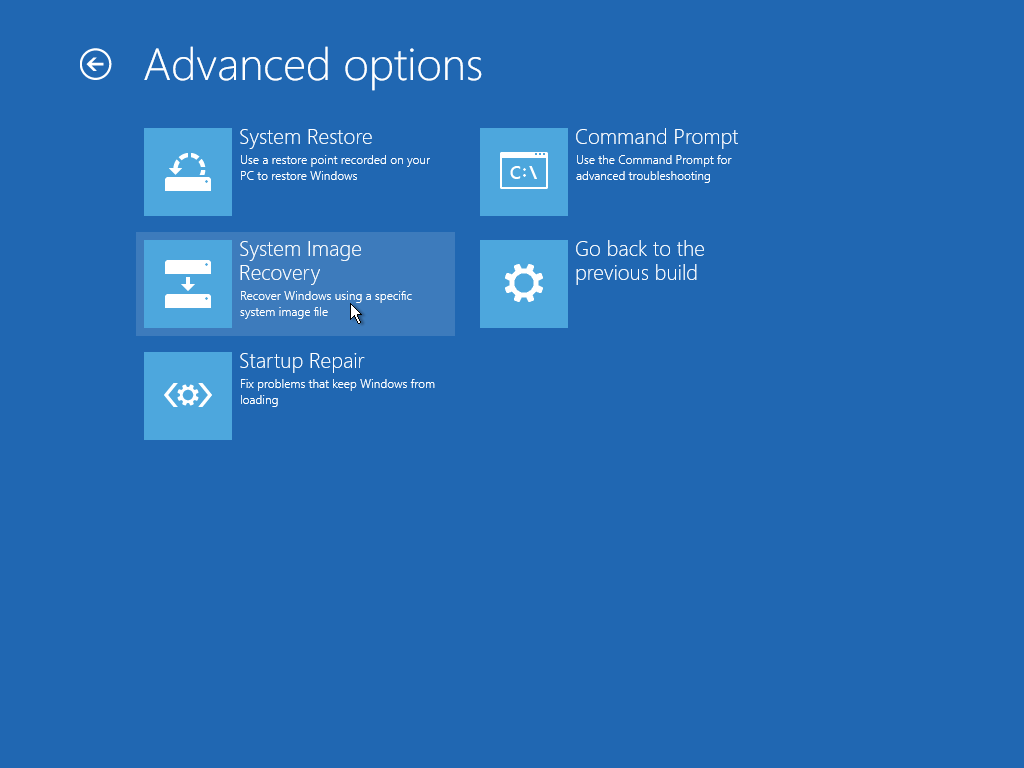
Click Repair your computer


Make sure your external hard disk where the system image is located is connected and turned on.
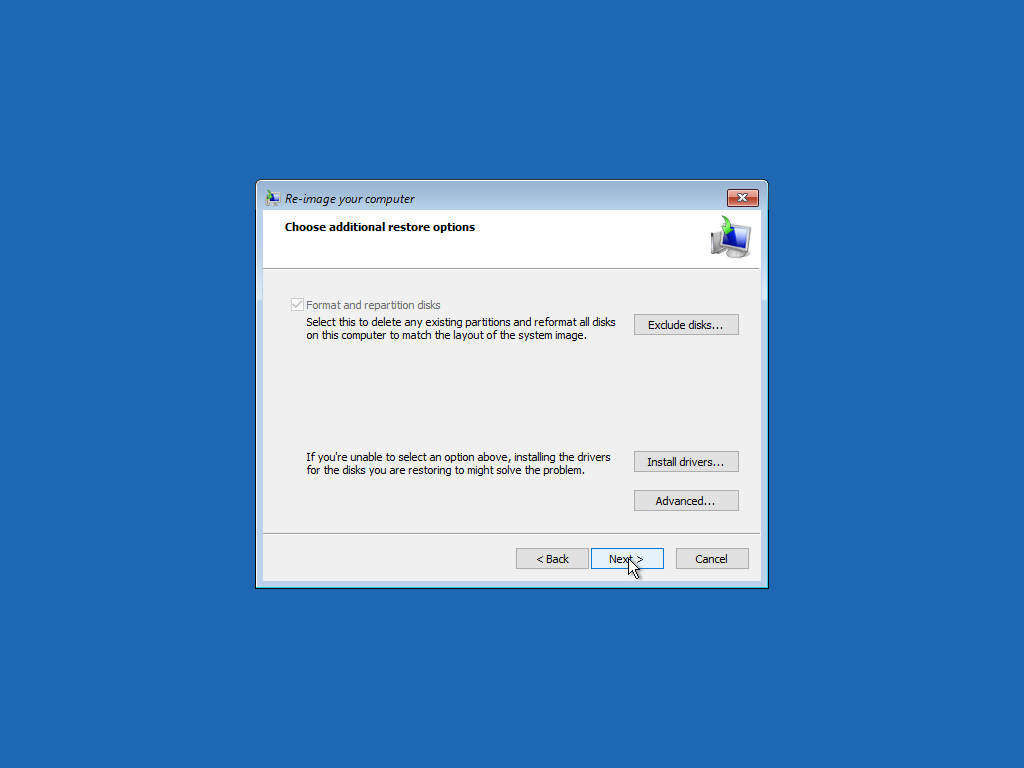
System Image will select the latest system image, if you would rather restore another image, select the Select a system image radio box and click Next and follow the on screen instructions to select an available system image.


One final warning before the restoration begins. Click Yes to continue.
Wait wait while the restoration takes place. This can take some time.
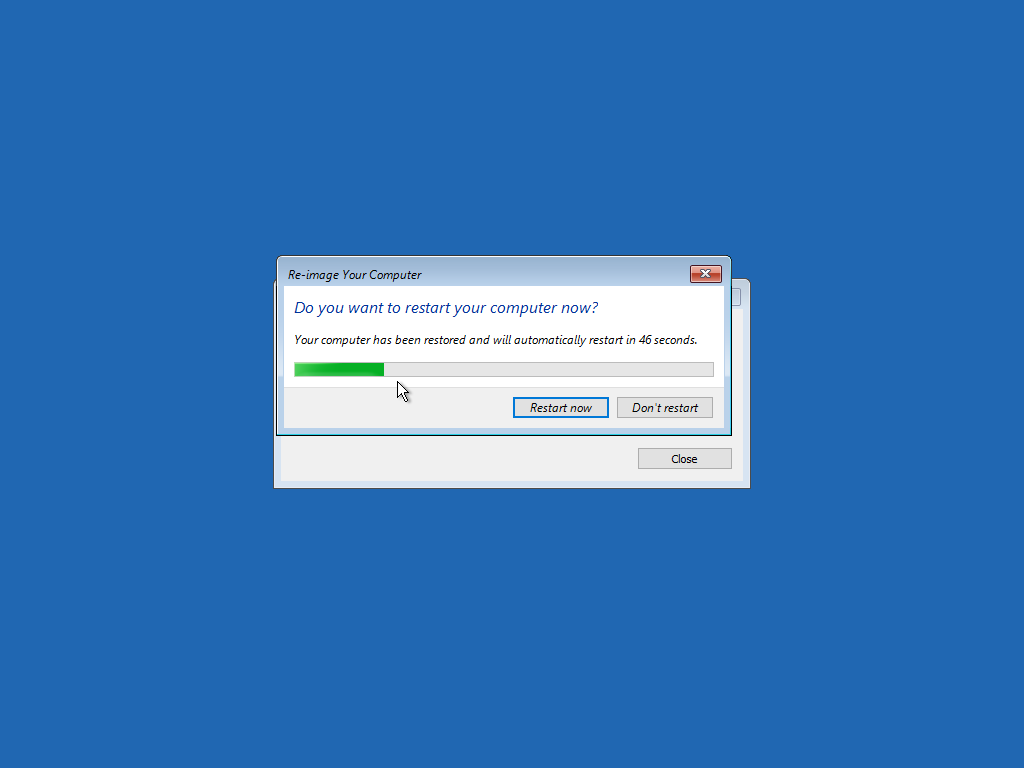
When complete, your computer will restart automatically or you can do so right away.
Reclaim unallocated disk space if necessary
If you restorage a system image on a hard disk or SSD that is larger than the one it replaced, then you will have unallocated disk space to reclaim because the system image restored according to its known partition layout.

You will notice there is a unallocated partition, this is what you need to reclaim. To do so, right click the Local disk where Windows 10 is installed, usually C:\ and click Extend Volume...
Click Next

Click Finish , you should now see a single disk partition for your Local disk in Disk Management with reclaimed space.
Related:


