
In this article, we look at signing into Skype on Windows using your Skype ID or Email. Your Skype ID is the nick name you created when you first signed up to use Skype. Your Skype ID is usually associated with your Microsoft email address such as an Outlook.com, Hotmail.com, Live.com or MSN.com domain. If you originally had setup Skype using a Gmail or Facebook account, you will need to connect your Gmail account to a Microsoft Account. Facebook accounts are no longer supported, so you will need to get a Microsoft Account which is free.
Lets begin. If you have not downloaded and installed Skype, you can get it at the following link: https://www.skype.com/en/get-skype/
After downloading and installing Skype, launch it then click Let's go.

Click Sign in with Microsoft

Wait while Skype sets up itself.

You can sign into Skype using your Skype ID or email address. For this article we will use the Skype ID which is your nick name. Click Next

Enter your password associated with the email address associated with your Skype ID. Make sure you are entering the password correctly. If you are not sure, open Notepad, type it in and make sure its correct. Click Sign in.

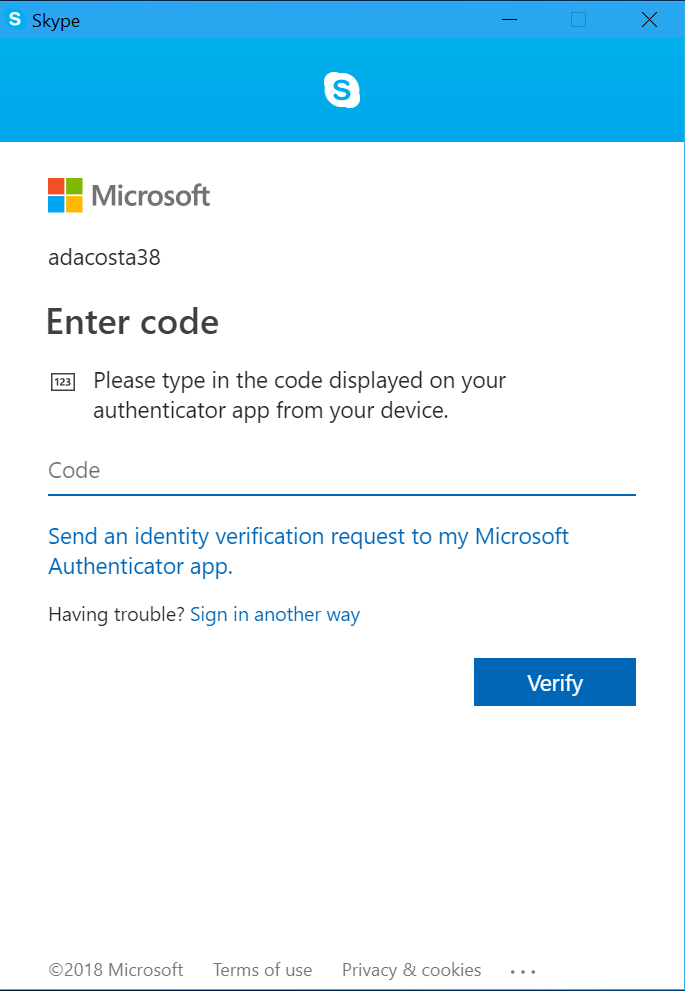
If you have two factor authentication setup on your account, then you will need to get pass code in order to verify your identity. After entering the pass code, click Verify. Check out using the Authenticator app for iOS and Android.
Wait while Skype signs you in.

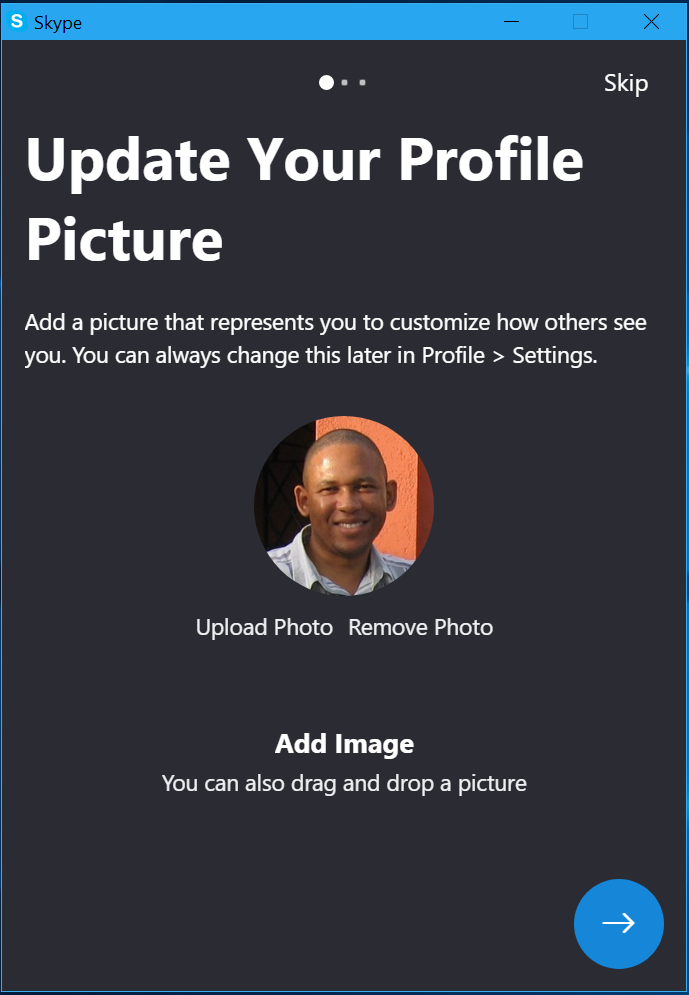
Skype will offer the option to update your profile picture with a new one or leave things as is. You can also click Skip these setup portions and head straight to Skype. For this article though, lets see what are the options available. Click the Forward arrow.
Skype is what you call a Voice over Internet Protocol app. Its lets you make free calls using the Internet. One of the important parts of doing that is using your computers built in mic or an external mic you installed. To make sure its working, use this portion of setup to test it. Speak into the mic and you should see the dots light up.

Looks like our Mic is working good. You can adjust further settings such as how loud you want your speakers to be or test the audio by clicking play button. These settings can always be adjusted after signing into Skype. Click the forward arrow.

Next is checking to make sure video works. Skype can also make video calls too. Here you can check if your built in or external web cam is working. If everthing looks good, click the check mark to continue.

Thats it! You are now signed into Skype, using your Skype ID or Email address.


