
Technical Level : Basic
Summary
When you setup Windows 10 for the first time whether it is a clean install or upgrade from a previous version, you have the option of creating a Local Account. If you want to create additional local accounts after setting up Windows 10, you will notice no such option is available in the Accounts Setting. The option is to either connect an existing account to a Microsoft Account or create a Microsoft Account. Windows 11 offer varied options depending on the edition you have installed. In this article, we show you how to create a Local Account.
Details
What is a Microsoft Account?
Since the release of Windows 8, Microsoft has embraced the Cloud as a first class citizen in Windows. Making it a primary part of authenticating on Windows using a Microsoft Account. Microsoft Accounts can be either a (Outlook.com, Live.com, Hotmail.com or MSN.com) domain. The benefits of a Microsoft Account are numerous when using modern versions of Windows such as Windows 11 or Windows 10. They allow you to sync your personal files to Microsoft's online storage service called OneDrive.
In addition to that, a Microsoft Account allows syncing of personalized settings which includes Themes, Microsoft Edge Favourites, permits access to the Store so you can download your apps and easily share them with your other Windows devices. The ultimate benefit being is the ability to easily move between devices. I personally use my Microsoft Account with all my Windows devices. It also provides security benefits too, making it more difficult to tamper with your user account because of technologies like two factor authentication.
Regardless of these benefits, persons still prefer to log into Windows the traditional way, just like they have been doing for more than 20 years when Windows NT 3.1 was released. Windows 11 and Windows 10 still retains this option and procedure is very easy to setup. I will look at two ways of doing it.
Local Account in Windows 11
If you are install Windows 11 Home edition, your options for setting up a Local Account if you perform a clean install or setup a new PC will require signing in with a Microsoft Account. If you don't have one or don't want to create one, an alternative is to use a security key. But users do have some options that will require either disabling your Internet connection during the Out Box Experience.
Windows 11 Pro or higher editions will let you create a local account during the OOBE. Click on Sign-in options
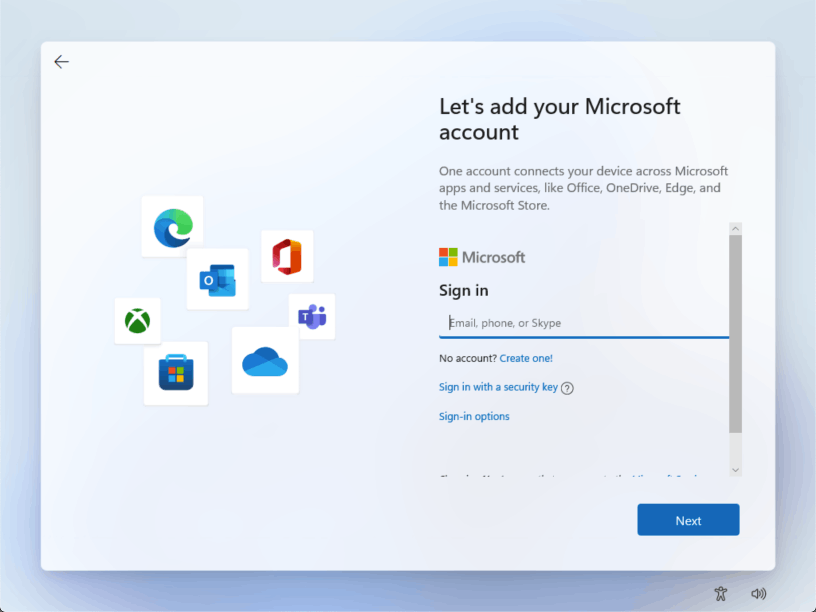
Click the Offline account option to create a local account

Windows 11 Home users on the other hand will have to disconnect from the Internet, whether that is manually disabling Wi-Fi or unplugging the Ethernet cable. Some laptops have a dedicated button for disabling WiFi or you can press Fn + a Function key on the keyboard. Usually there is a wireless symbol on it. If you were prompted to connect to a wireless network during setup, you can click Back and disconnect from it.

Once this is done, Windows 11's OOBE will instead offer the choice to create a local account. Proceed to enter the name you want to use then click Next.

Enter a password and confirm it.

You will now need to answer three security questions to protect your account or for recovery if it becomes compromised.

Windows 11 is now setup with a local account
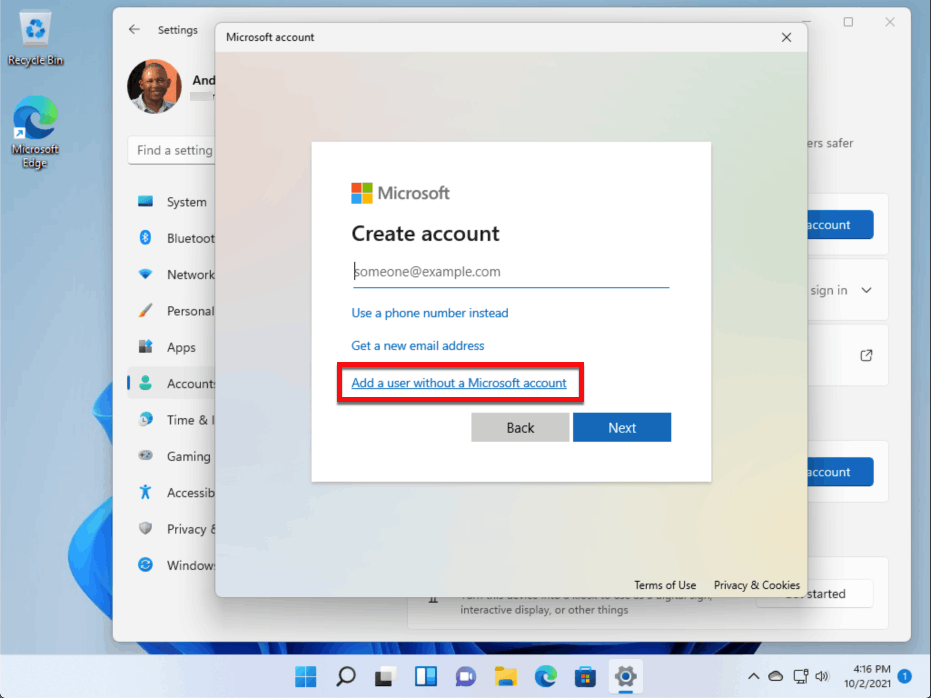
You can also create a Local Account from within Windows 11. In the Settings app, click on Accounts > Family & other users then click Add account under Other users

Click on I don't have this persons sign information

Click the link Add a user without a Microsoft Account
Proceed to create the local account with a password and answer the required security questions.

Your local account is now created.

If you are running Windows 11 Pro or Windows 10 Pro or a higher edition, you can use the following steps to create a local account through Computer Management.

Press Windows key + X
Click Computer Management

Expand Local Users and Groups
Click Users
Right click then click New User

Enter the information for the account such as User Name, Full Name, Description (optional) and the password, confirm it.
Uncheck 'User must change password at next logon' if this account is for your purposes and and uncheck the 'Password never expires' box. If the account is for someone else, leave the defaults.
Click Create then Close
Thats it!
Method 2:
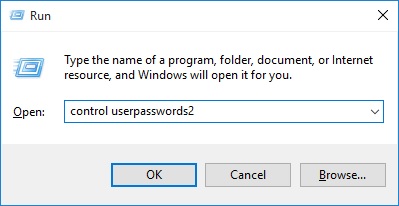
Press Windows key + R
Type: control userpasswords2
Hit Enter or click OK
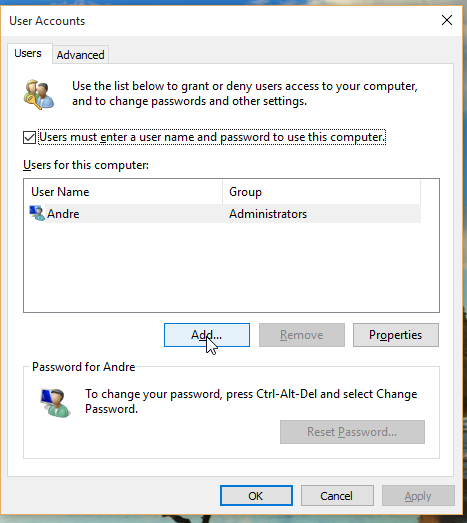
Click Add
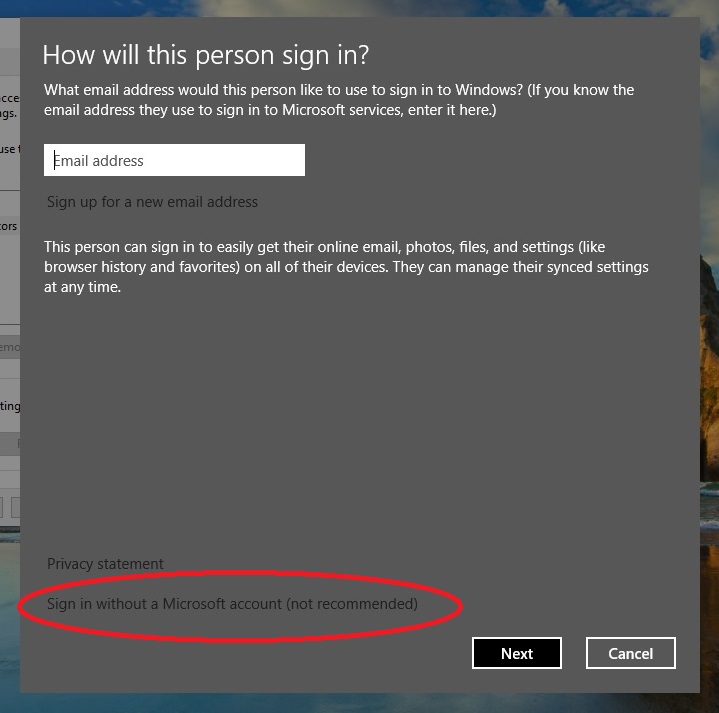
Click Sign in without a Microsoft account (not recommended)

Click Local account

Enter your account information then click Next

Click Finish
Thats it!
Method 3
You can use the command line as another way to create a local account.
Press Windows key + X
Click Command Prompt (Admin)
We are going to attempt to create a new user account.
Example: net user Username Password /add
Where there is Username replace with the account name and where there Password replace with the desired password.
Example: net user adacosta2 pwhelp /add
Press Enter on your keyboard
You should see the following message The command completed successfully.
Type exit to close the command prompt.
Restart the machine and try logging into the new account.
Thats it.
Related:
How to: Complete the Windows 11 Out of Box Experience
How to: connect to a Microsoft Account in Windows 10
How to: Create a Local Account during Out of Box Experience Setup
