
Summary
Microsoft announced on July 15th 2015 the Release To Manufacturing build for its next generation operating system, Windows 10. If you have been participating in the Windows 10 Insider Preview Program, you might be eligible for the final release. The following article will show you how to get it.
Details
IMPORTANT NOTE:
I just installed or reinstalled a preview build of Windows 10 and I want to upgrade to the final release, but it will not activate.
Microsoft has suspended Preview Builds and also deactivated their product keys at this time in preparation for the RTM release on July 29th. This means you won't be able to download, install or activate builds 10162 and 10166 or earlier builds in order to qualify for the final release.
Your best option is to reinstall a valid license you have for either Windows 7, Windows 8.0 or Windows 8.1, make sure it is actvated, then upgrade from that to Windows 10 on July 29th or later.
If you have a preview copy of Windows 10 that was already installed and activated, then these procedures should work.
Click Start > Settings or press Windows key + i

Click Update & security
Click Windows Update
Click Check for updates

Wait while Windows 10 build 10240 downloads.

Wait while the installation prepares to install the Update.

When complete, follow the instructions to restart your computer.

Wait while Windows 10 is installed.

When setup is complete, sign in and complete the Out of Box Experience.
You can create a backup copy using the following instructions:
How to: Create a Recovery Drive for reinstalling Windows 10
Leaving the Windows Insider Program - Switch to the Stable Channel
Even after Windows 10 is finalized for the general public, Microsoft will continue publishing revisions of Windows 10. Windows Insiders will have the option of getting these updates (automatically) unless they specify they no longer want it. These revisions will likely be unstable and unfinished. For most users unless you are an enthusiast, it is best you switch to the stable channel.
To do that, launch Settings (Start > Settings or Windows key + i)
Click Update and Security
Click Windows Update
Click Advanced Options

Under Get Insider builds click Stop Insider builds

Click Close
You should now be running a stable final copy of Windows 10 RTM. Enjoy!
Important Notice regarding Windows Insider Preview Program eligibility for RTM build:
- Do you want to continue as a Windows Insider and keep getting preview builds after 7/29?
- Or do you want to upgrade your Genuine Windows 7 or Windows 8.1 system that has been getting Windows 10 Insider Preview builds to the 7/29 release and
stop being an Insider?
“I want to continue as a Windows Insider!” If you want to continue as a Windows Insider past 7/29 there is nothing you need to do. You’re already opted in and receiving builds in the Fast or Slow ring depending upon your selection. This is prerelease software and is activated with a prerelease key. Each individual build will expire after a time, but you’ll continue to receive new builds so by the time an older prerelease build expires you’ll have received a new one. Since we’re continuing the Windows Insider Program you’ll be able to continue receiving builds and those builds will continue to be activated under the terms of the Windows Insider Program. We provide ISOs for these builds for recovery from any significant problems, but they are still pre-release software. As part of the program we’ll upgrade Insiders to what is for all intents and purposes the same build as what other customers will get on 7/29, but that will be just another build for Insiders, and those who stay in the program will simply get the next build after as well.
“I want to opt out of the Windows Insider Program on 7/29.” If you decide to opt-out of the program and upgrade to the 7/29 build you will be subject to exactly the same terms and conditions that govern the offer* that was extended to all Genuine Windows 7 and 8.1 customers. This is not a path to attain a license for Windows XP or Windows Vista systems. If your system upgraded from a Genuine Windows 7 or Windows 8.1 license it will remain activated, but if not, you will be required to roll back to your previous OS version or acquire a new Windows 10 license. If you do not roll back or acquire a new license the build will eventually expire.
Create bootable .ISO file using .ESD
Retrieve the .ESD file from the root of the drive in the C:\Recovery Image folder and create your own bootable copy which you can use for reinstallation purposes.
Download ESD Decrypter 4.7 (esd-decrypter-wimlib-4.7z)
You can use NTLite as an alternative to convert the .ESD file into a .ISO:
Extract esd-decrypter-wimlib-4.7z to a folder.
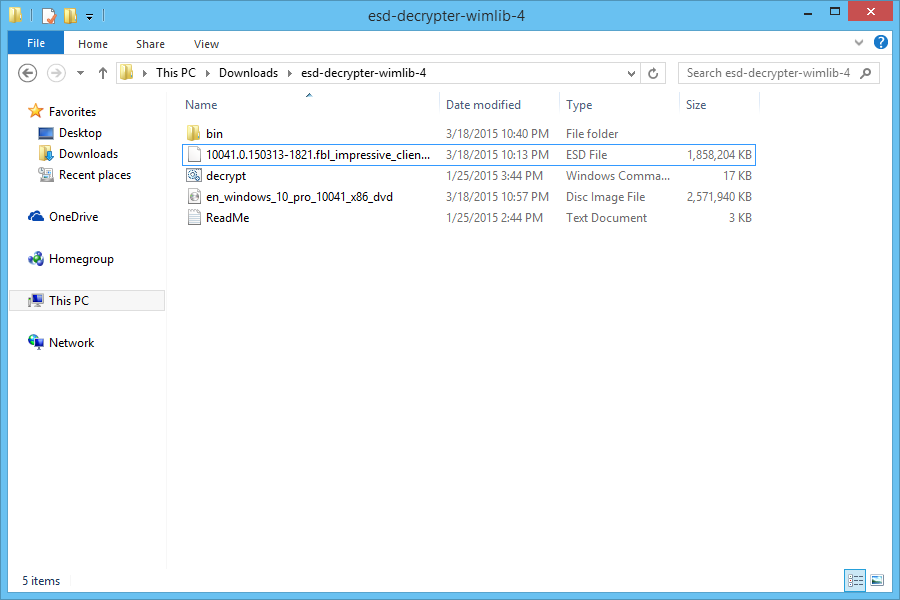
Put the appropriate .ESD file you downloaded into that same folder.
Right click decrypt file in the same folder and click Run as administrator

Select option 1
Hit Enter
Wait
When complete, burn to a blank DVD or create a bootable copy on a USB thumbdrive.
See article for instructions how to do that.
Preparing the .ISO file for installation.
See instructions for burning .ISO files in Windows 7 or later:
http://windows.microsoft.com/en-US/windows7/Burn-a-CD-or-DVD-from-an-ISO-file
You can also use the Microsoft USB/DVD Tool, which is recommended for Windows XP users.
After obtaining the .iso file you use the Microsoft .iso to USB/DVD tool to create a bootable DVD or USB (requires a blank DVD or USB flash stick of at least 4 GB).

For UEFI based systems
If your computer is UEFI based, these are normally systems that come pre-loaded with Windows 8 or later, you will need to prepare the ISO file for such a configuration or you will receive an error message during setup. The thumbdrive needs to be formatted as FAT32 and use the GPT partitioning scheme. To do this, you need to use Rufus, a small tool you can download for free.

Rufus - credit: Pete Batard/Akeo
After you have installed Rufus:
- Launch it
- Select ISO Image
- Point to the Windows 10 ISO file
- Check off Create a bootable disk using
- Select GPT partitioning for EUFI firmware as the Partition scheme
- Choose FAT32 NOT NTFS as the File system
- Make sure your USB thumbdrive in the Device list box
- Click Start
- Close when complete
Resources:
